Ready to upgrade your home’s flooring? Installing vinyl sheet flooring is a great way to add style and durability to your space, and with this step-by-step guide, it’s easier than ever to do it yourself! From preparation to finishing touches, this comprehensive guide breaks down each step of the installation process in easy-to-follow detail. Whether you’re a seasoned DIY enthusiast or new to home improvement projects, you’ll find everything you need to know in this guide. Say goodbye to old, worn-out flooring and hello to beautiful, long-lasting vinyl sheet flooring that will enhance the look and feel of your home.
Installation Vinyl Sheet Flooring
- Measure and cut vinyl sheet flooring
- Lay out the flooring
- Apply adhesive to the subfloor
- Roll out vinyl sheet flooring
- Remove air bubbles and smooth out the flooring
- Trim excess flooring
So roll up your sleeves, grab your tools, and get ready to take on this exciting project. Let’s do this!
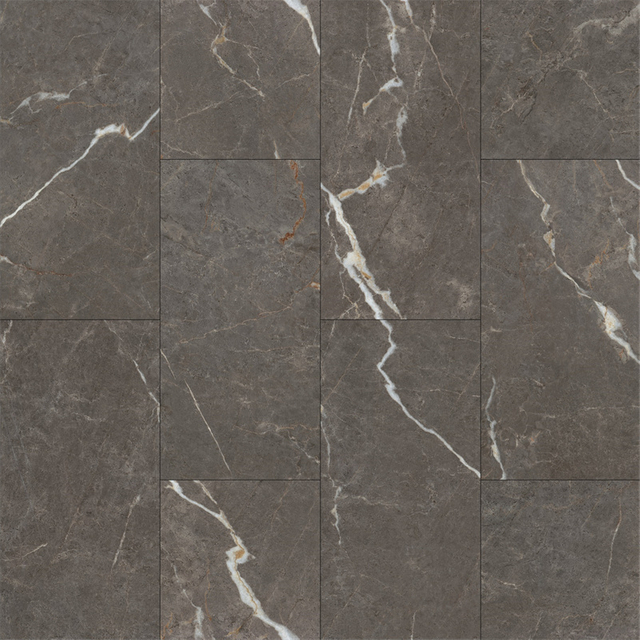
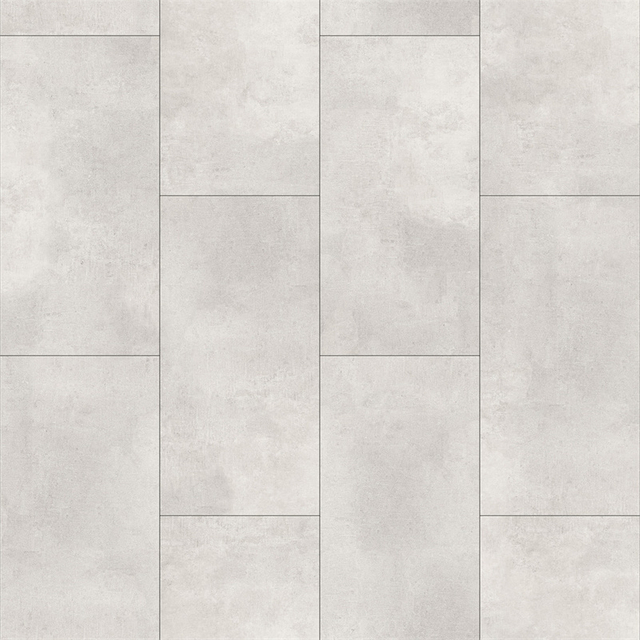
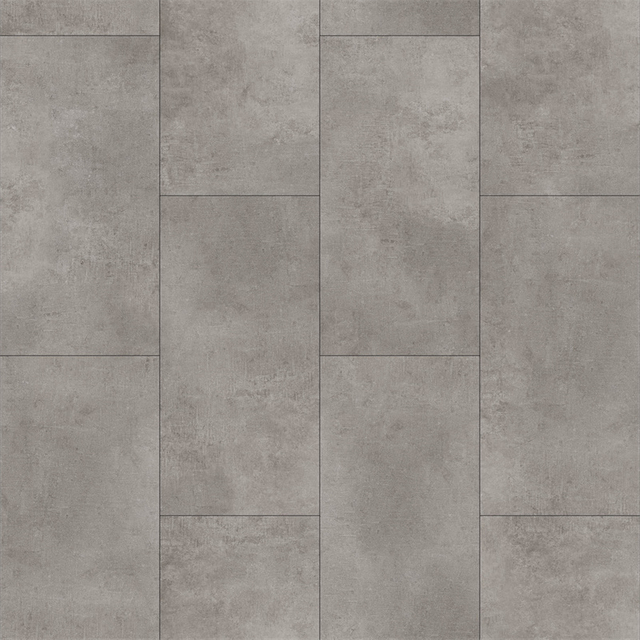
Explanation of vinyl sheet flooring
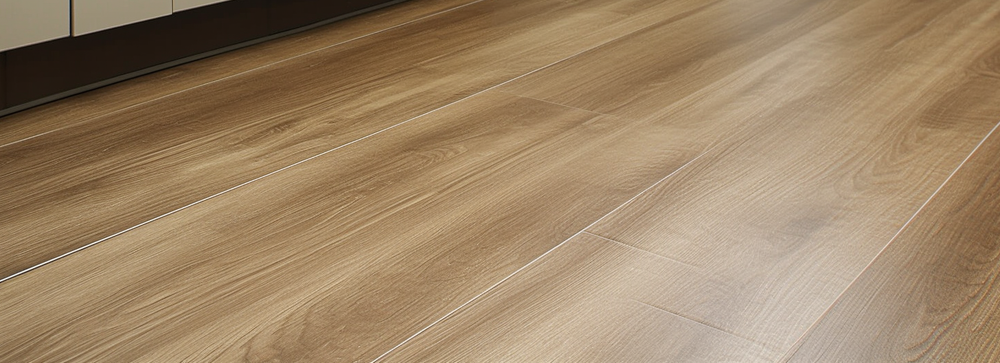
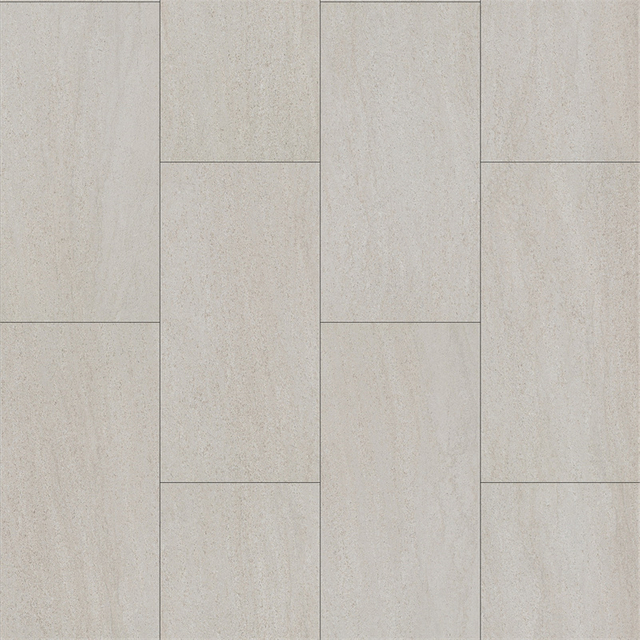
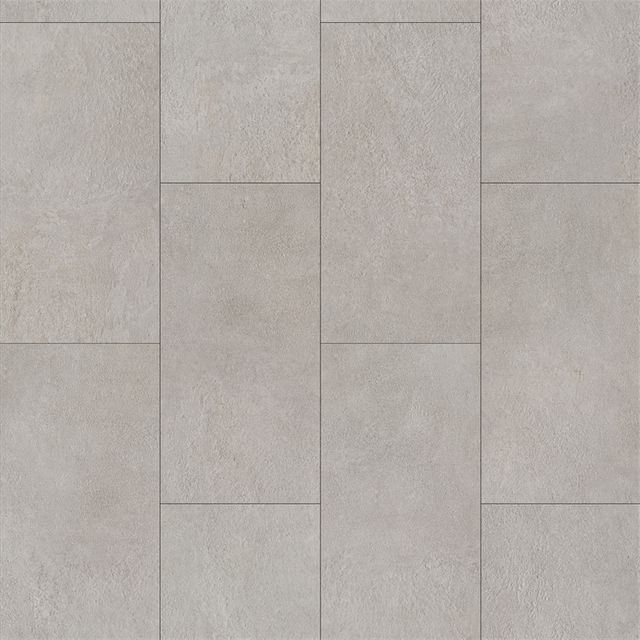
Vinyl sheet flooring is a type of resilient flooring made from synthetic materials, such as PVC (polyvinyl chloride), and comes in large sheets that can be cut to fit any space. This type of flooring has grown in popularity due to its affordability, durability, and versatility in design. Vinyl sheet flooring can mimic the look of other types of flooring, such as tile or wood, while being more affordable and easier to maintain.
Benefits of vinyl sheet flooring
Vinyl sheet flooring is a type of resilient flooring made from synthetic materials, such as PVC (polyvinyl chloride), and comes in large sheets that can be cut to fit any space. This type of flooring has grown in popularity due to its affordability, durability, and versatility in design. Vinyl sheet flooring can mimic the look of other types of flooring, such as tile or wood, while being more affordable and easier to maintain.
Importance of proper installation
Proper installation is crucial when it comes to getting the most out of your vinyl sheet flooring. A poorly installed floor can lead to air bubbles, buckling, or improper adhesion, which can cause damage and may require costly repairs. Ensuring that the subfloor is clean, level, and free of debris is essential before beginning the installation process. Following each step carefully and taking the time to do it right will ensure that your vinyl sheet flooring will last for many years to come. With proper installation and regular maintenance, vinyl sheet flooring can provide a beautiful and practical flooring option for any room in your home.
Preparation
- Acclimate the flooring
acclimate the vinyl sheet flooring to the room’s temperature and humidity for at least 24 hours. This process allows the flooring to adjust to the environment, which can prevent issues such as shrinking or expanding over time.
- Gather necessary tools and materials
gather all the tools and materials you’ll need for the installation process. This includes items such as a tape measure, utility knife, straight edge, adhesive, notched trowel, and rolling pin. It’s important to have everything on hand so you don’t have to stop midway through the installation to go purchase additional supplies.
- Remove old flooring and debris
Before installing the new vinyl sheet flooring, remove any old flooring and debris from the subfloor. This may include carpet, tile, or hardwood. Make sure the surface is clean, dry, and free of any loose material that could impact the adhesion of the vinyl sheet flooring.
- Clean and level subfloor
make sure the subfloor is level and in good condition. Use a leveling compound or patching compound to fix any low spots or cracks in the subfloor. A smooth, level subfloor will ensure that your vinyl sheet flooring will lay flat and adhere properly. With careful preparation, your vinyl sheet flooring installation should be smooth sailing from start to finish.
Installation
- Measure and cut vinyl sheet flooring
Measure and cut the vinyl sheet flooring to fit the space. Use a tape measure to determine the width and length of the space that needs to be covered. Add an extra 2-3 inches to each measurement to ensure you have enough material to work with. Using a utility knife and straight edge, cut the vinyl sheet flooring to fit the space.
- Lay out the flooring
Lay out the vinyl sheet flooring in the room to double-check the fit. This will allow you to make any necessary adjustments before applying adhesive to the subfloor.
- Apply adhesive to the subfloor
Apply adhesive to the subfloor in sections using a notched trowel. Work in small areas at a time to prevent the adhesive from drying out before you lay down the vinyl sheet flooring.
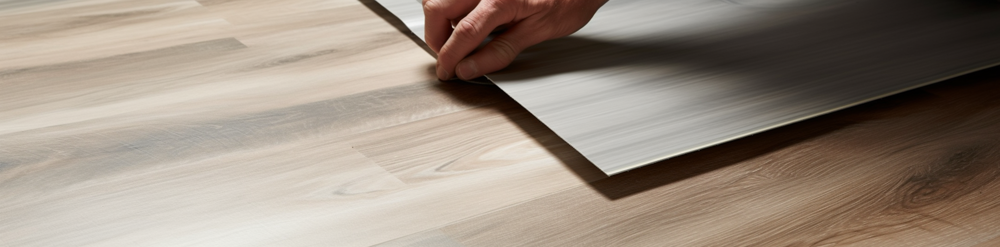
- Roll out vinyl sheet flooring
Roll out the vinyl sheet flooring onto the adhesive, starting at one end and working your way across the floor. Be careful not to stretch or pull the vinyl sheet flooring as you go, as this can cause it to warp or buckle.
- Remove air bubbles and smooth out the flooring
Once the vinyl sheet flooring is in place, use a rolling pin to remove air bubbles and smooth out the surface. Work from the center of the floor outward to push out any trapped air. If you encounter any stubborn air bubbles, use a pin to puncture them and release the air.
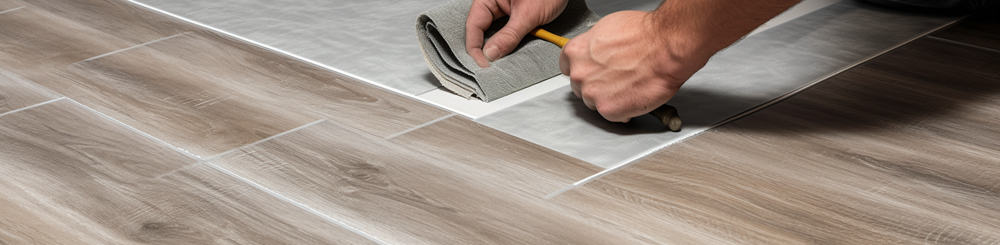
- Trim excess flooring
Trim any excess vinyl sheet flooring around the edges of the room using a utility knife and straight edge. Make sure to leave a slight gap between the edge of the vinyl sheet flooring and the wall to allow for expansion and contraction.
Finishing touches
- Install baseboards and trim
Install baseboards and trim to cover any gaps between the vinyl sheet flooring and the wall. Use a saw to cut the baseboards and trim to fit the length of the walls, and then use a nail gun to secure them in place.
- Check for gaps or seams
Check for any gaps or seams in the vinyl sheet flooring. If you notice any areas where the vinyl sheet flooring hasn’t adhered properly, use a rolling pin or hand roller to press down on those spots until they lay flat.
- Allow flooring to set
Allow the flooring to set for at least 24 hours before walking on it or moving furniture back into the room. This will give the adhesive time to fully dry and bond with the subfloor.
- Clean up excess adhesive
Clean up any excess adhesive that may have seeped out during the installation process. Use a scraper or putty knife to remove any dried adhesive, and then wipe the surface with a damp cloth to remove any residue.
Maintenance
- Cleaning and maintenance guidelines
Clean up spills promptly to prevent staining or damage to the surface of the vinyl sheet flooring. Sweep or vacuum regularly to remove dirt and debris, and mop with a mild detergent and water as needed.
- Tips for extending the life of vinyl sheet flooring
- place felt pads under furniture legs to prevent scratches on the surface of the flooring.
- avoid exposing the flooring to direct sunlight for prolonged periods of time, which can cause fading or discoloration over time.
- consider placing rugs or mats in high traffic areas or near entryways to help trap dirt and debris before it gets tracked onto your floors.
By following these simple maintenance tips, you can enjoy beautiful and durable vinyl sheet flooring for years to come.

In conclusion, vinyl sheet flooring is an affordable and versatile flooring option that can enhance the look and feel of any room in your home. Proper preparation and installation are essential for a successful project, but with careful attention to detail and the right tools, anyone can install vinyl sheet flooring with confidence. Once installed, vinyl sheet flooring requires minimal maintenance to keep it looking great for years to come. By following simple cleaning guidelines and taking steps to extend the life of your flooring, you can enjoy the benefits of this durable and low-maintenance flooring option. Whether you’re upgrading your kitchen or revamping your entire home, vinyl sheet flooring is a smart investment that provides practicality, durability, and style.


