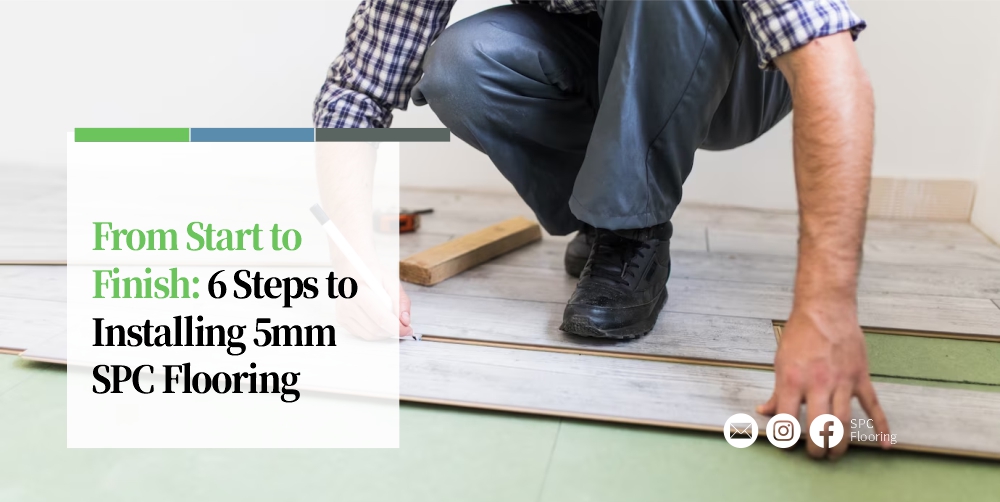
Are you planning to install 5mm SPC flooring but don’t know where to start? Look no further! In this customer-oriented guide, we will take you through installing 5mm SPC flooring from start to finish. Whether you’re a DIY enthusiast or a professional installer, this guide will provide all the necessary information to ensure a successful installation.

How to Install 5mm SPC Flooring?
- Step 1. Measure and mark the centerline of the room
- Step 2. Lay down the first row of planks
- Step 3. Cut the last plank of each row to fit
- Step 4. Stagger the seams between rows
- Step 5. Use tapping block and mallet to ensure a tight fit
- Step 6. Install transitions and edge moldings as needed
We have got you covered, from inspecting the subfloor to finishing the installation. We will provide step-by-step instructions on installing 5mm SPC flooring, including acclimation, layout, cutting, and more.
Introduction

5mm SPC flooring, also known as Stone Plastic Composite flooring, is a popular type of flooring that has been gaining popularity in recent years. This type of flooring comprises several layers that work together to create a strong, durable, and waterproof surface. In this comprehensive guide, we will discuss the features and benefits of 5mm SPC flooring and the importance of proper installation.
5mm SPC flooring comprises several layers that create a strong and durable surface. The top layer is a transparent wear layer that protects against scratches, stains, and wear and tear. Beneath the wear layer is a printed design layer that can mimic the appearance of wood, tile, or stone. The core of the 5mm SPC flooring is made up of a mixture of limestone powder, PVC, and stabilizers. Finally, an underlayment layer provides additional cushioning and sound insulation.
Importance of Proper Installation:
Proper installation is crucial to the performance and durability of 5mm SPC flooring. Following the manufacturer’s instructions and using the recommended tools and materials during installation is important. Additionally, a professional should install the flooring to ensure that it is installed correctly and to avoid any potential problems.
Preparation
Installing 5mm SPC flooring requires careful attention to detail and proper preparation to ensure a long-lasting, durable surface. Here are the steps to follow when installing 5mm SPC flooring:
Inspect the subfloor for flatness and evenness.
Before installing 5mm SPC flooring, inspect the subfloor to ensure that it is even and flat. Any bumps or irregularities in the subfloor can cause the flooring to buckle or warp over time. Use a straightedge to check for any high or low spots in the subfloor. If you find any uneven areas, use a self-leveling compound to level them out.
Clean and level subfloor
Before laying the flooring:
- Ensure the subfloor is clean and free of debris.
- Sweep or vacuum the subfloor thoroughly, and remove any adhesive or old flooring that may be present.
- Once the subfloor is clean, apply a leveling compound if necessary to ensure a smooth, even surface for the 5mm SPC flooring.
Acclimate flooring to room temperature and humidity
After preparing the subfloor, it’s time to acclimate the 5mm SPC flooring to the room’s temperature and humidity. Store the flooring in the room where it will be installed for at least 48 hours to adjust to the room’s conditions. Keep the room temperature between 65-85°F (18-30°C) and maintain humidity levels between 35-55%.
Lay the flooring
Once the flooring has acclimated, it’s time to lay the 5mm SPC flooring. Start in the corner of the room and work your way out. Use a tapping block and rubber mallet to connect the planks tightly. Leave a ¼ inch (6mm) gap between the flooring and the wall to allow for expansion.
Use underlayment
Depending on the manufacturer’s instructions, an underlayment may be necessary. Roll out the underlayment and attach it to the subfloor with adhesive tape. Make sure the seams are tight and any excess is trimmed.
Finish the installation
Once the flooring is installed, it’s time to finish the installation. Install any necessary trims or moldings, and apply a sealant around the room’s edges to prevent moisture from seeping under the flooring. Check for any gaps or seams that need to be filled.
Installation
Step 1. Measure and mark the centerline of the room:
Measure the room’s width and divide it in half to find the center point. Mark this point on the floor with a chalk line. This centerline will ensure the flooring is installed straight and aligned with the room’s walls.
Step 2. Lay down the first row of planks:
Starting at the centerline, lay the first row of planks with the groove side facing the wall. Use spacers to create a ¼ inch (6mm) gap between the planks and the wall. Cut the last plank in the row to fit if necessary, leaving a ¼ inch (6mm) gap between it and the wall.
Step 3. Cut the last plank of each row to fit:
For each subsequent row, use the cut piece from the previous row to start the new row, ensuring that the end joints are staggered at least 8 inches (20cm) from the previous row. Measure and cut the last plank of each row to fit if necessary.
Step 4. Stagger the seams between rows:
Stagger the seams between rows by at least 8 inches (20cm) to create a more appealing look. Use a tapping block and mallet to ensure the planks fit together tightly.
Step 5. Use tapping block and mallet to ensure tight fit:
As you continue laying the planks, use a tapping block and mallet to ensure a tight fit, with special attention to the corners and edges. Ensure the ¼ inch (6mm) gap between the planks and the wall is maintained.
Step 6. Install transitions and edge moldings as needed:
Once the flooring is installed, install any necessary transitions and edge moldings to finish off the look of the room. Depending on the manufacturer’s instructions, these can be attached using adhesive or screws.
Finishing

Reinstalling baseboards and trim:
Once the 5mm SPC flooring is installed, it’s time to reinstall the baseboards and trim that were removed during the installation process. This step is crucial because it provides a finished look to the flooring and hides any gaps between the flooring and the wall. To reinstall the baseboards, use a finish nailer or hammer and nails to attach them to the wall. Use a coping or miter saw to cut the baseboards to fit around corners or uneven areas for a neat finish.
Sweeping and cleaning up the floor:
After the baseboards and trim are reinstalled, sweeping and cleaning up the floor thoroughly is important. Any debris or dust left on the surface can cause scratches or damage the flooring. Use a soft-bristled broom or a vacuum cleaner to remove dirt or debris. Then, use a damp mop or microfiber cloth to clean the floor. Avoid using any harsh chemicals or abrasive tools that could damage the flooring.
Maintenance
Maintaining and caring for 5mm SPC flooring is essential to ensure its longevity and beauty. Here are some tips to follow:
Regular cleaning and maintenance tips:
- Sweep or vacuum the flooring daily to remove any dirt or debris.
- Use a damp mop or microfiber cloth to clean the surface regularly, using a mild cleaning solution recommended by the manufacturer.
- Avoid using abrasive cleaners or tools that can damage the flooring’s surface.
Avoiding damage from furniture and other heavy objects:
- Use felt pads or coasters under the legs of furniture to avoid scratching the surface.
- When moving furniture, lift it instead of dragging it across the flooring to avoid scratches or dents.
Tips for repairing any damages:
- Clean the area around the damage with a mild cleaning solution.
- Apply a filler or sealant recommended by the manufacturer to the damaged area with a putty knife or applicator.
- Allow the filler or sealant to dry completely before sanding and refinishing the area.
Additionally, here are some other tips to consider:
- Protect the flooring during renovation or construction work by covering it with a protective cover to avoid damage.
- Place doormats and rugs at the room’s entrance to minimize the amount of dirt and debris in contact with the flooring.
- Avoid standing water and clean up any spills or standing water immediately to avoid any damage to the flooring.

In conclusion, installing 5mm SPC flooring can be hassle-free if you follow the guide provided. This skillful installation guarantees the longevity and durability of the flooring material, making it a valuable investment. So, get ready to embark on your flooring project with certainty, and let this guide assist you in obtaining results that meet your expectations. Save time and money while achieving high-quality output.


