Are you struggling with the daunting task of removing your old PVC flooring? It’s a common issue many homeowners face, especially when preparing for a renovation or installing new flooring. The process can be messy, time-consuming, and if not done correctly, it can even damage your subfloor.
Boldly stated, the solution to your PVC flooring removal woes is right here. This article provides a comprehensive, step-by-step guide to tackle PVC flooring removal efficiently and safely. Our aim is to arm you with the knowledge and tips you need to complete this task with minimal fuss. So, let’s dive in and get that old flooring out of your way for good.
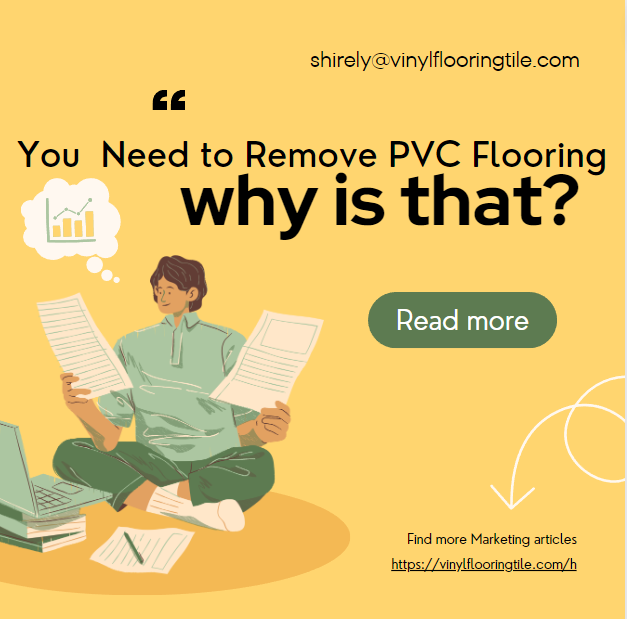
Why You Might Need to Remove PVC Flooring
Reasons for Removal
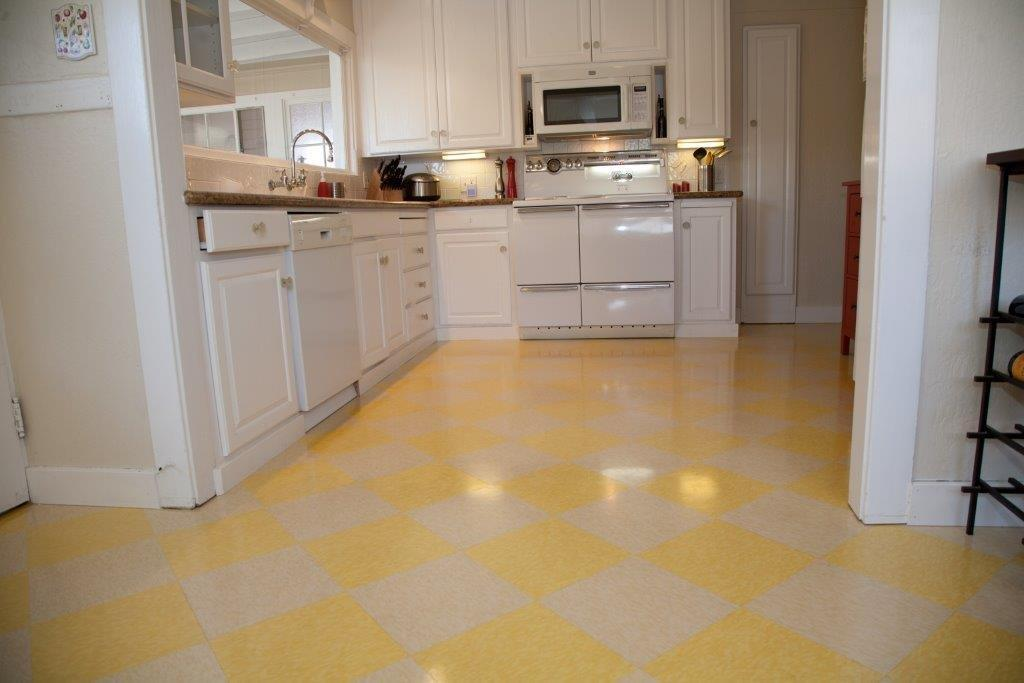
There are several compelling reasons you might need to remove your PVC flooring. One of the most common is wear and tear. Over the years, even the most durable PVC floors can show signs of aging—fading colors, scratches, or even peeling. If you’re like me, who has been in the flooring industry for over a decade, you’ll know that these are clear indicators that it’s time for a change.
Another reason could be renovation or remodeling projects. If you plan to give your space a facelift, the flooring is often the first thing to go. It’s a significant part of any room’s aesthetic, and changing it can dramatically alter the space’s look and feel. I’ve overseen countless remodeling projects, and I can tell you that the impact of new flooring is immediate and transformative.
Health concerns can also necessitate the removal of PVC flooring. Older PVC materials may contain harmful chemicals that can affect indoor air quality. If you’re concerned about the health and safety of your family, it’s crucial to replace such flooring with a safer alternative.
Lifespan of PVC Flooring
PVC flooring is generally known for its durability and long lifespan. On average, you can expect a good-quality PVC floor to last anywhere from 10 to 20 years. However, this can vary depending on several factors like the quality of the material, how well it’s been maintained, and the amount of foot traffic it endures. In my years of experience, I’ve seen well-maintained PVC floors last even longer than expected, proving to be a cost-effective choice for many homeowners.
But like anything else, it won’t last forever. When you start to notice signs of wear or if it’s been close to two decades since the flooring was installed, it’s probably time to consider a replacement. And when that time comes, you’ll want to know how to remove it efficiently and safely, which is where this guide comes in.
Risks & Precautions Before Undertaking PVC Flooring Removal
The Risks and Challenges
Before you dive into the removal process, it’s essential to understand the risks involved. One of the primary concerns is dust. A considerable amount of dust can be generated when cutting, pulling, or even scraping off the PVC flooring. This isn’t just any dust; it can contain particles from the adhesive and the PVC material itself, which might be harmful if inhaled.
Another challenge is the potential exposure to chemicals. Older PVC flooring may contain hazardous substances like phthalates or even asbestos, depending on when it was manufactured. I’ve been in situations where we had to halt a project to get the material tested for safety, so it’s not something to take lightly.
There’s always a risk of physical injury. The removal process has its share of hazards, from sharp tools to heavy lifting. I’ve seen minor accidents become significant because proper precautions weren’t taken.
Precautionary Measures
Given these risks, taking precautionary measures is non-negotiable. First and foremost, ensure proper ventilation in the area where you’ll be working. Open windows use fans; if possible, wear a mask to filter out particles. I’ve been in this line of work long enough to know that good ventilation can make a difference in how you feel during and after the project.
Next, consider your clothing and protective equipment. Safety goggles, gloves, and even knee pads can protect you from the various risks. Over the years, I’ve found that investing in good-quality protective gear pays off in the long run.
Tools & Materials Needed for PVC Flooring Removal
Tools and Materials Required

Before you start with the removal process, it’s crucial to gather all the necessary tools and materials. Here’s a list of what you’ll need:
- Utility Knife: For cutting the PVC flooring into manageable strips.
- Pry Bar: To lift the edges of the flooring.
- Hammer: To assist the pry bar in lifting the flooring.
- Floor Scraper: To remove any adhesive residue.
- Dust Mask and Safety Goggles: For personal protthe removal process, gathering all the necessary tools and materials is crucial
- Heavy-Duty Trash Bags: For disposal of the old flooring.
- Gloves: To protect your hands during the process.
- Knee Pads: For comfort while working on your knees.
Having been involved in numerous flooring removal projects, I can’t stress enough the importance of having the right tools. It makes the job easier and ensures that it’s done correctly and safely.
Tips for Choosing the Right Tools and Materials
When choosing the right tools, quality should be your primary concern. Don’t skimp on safety gear; go for dust masks with high filtration and safety goggles that provide a snug fit. I’ve learned from experience that cutting corners on safety can lead to unnecessary risks and delays.
For tools like utility knives and pry bars, opt for ones with ergonomic designs. They’ll make the job less strenuous and more efficient. If you’re unsure about what to choose, don’t hesitate to consult professionals or visit specialized stores where you can get expert advice.
Step-by-Step Guide to PVC Flooring Removal
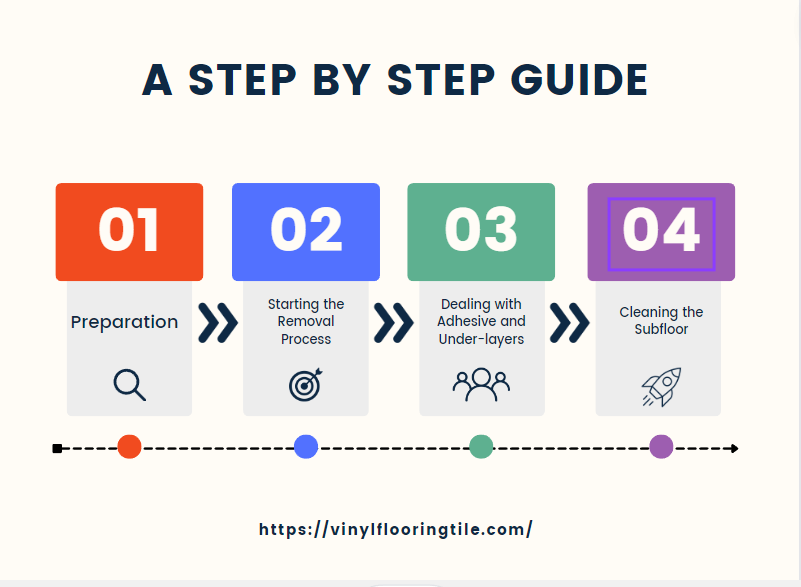
Step One: Preparation
The first step is to prepare the area. Remove all furniture and obstacles from the room. Then, put on your safety gear—dust mask, gloves, and safety goggles. Make sure also to have your trash bags ready for disposal of the old flooring. I’ve found that a well-prepared workspace sets the stage for a smooth removal process.
Step Two: Starting the Removal Process
Use the utility knife to cut the PVC flooring into 6 to 8 inches wide strips. This makes it easier to handle. Then, use the pry bar and hammer to lift one end of a strip and pull it off. This part should go relatively smoothly if you’ve done your prep work well.
Step Three: Dealing with Adhesive and Under-layers
Once you’ve removed the PVC strips, you’ll likely encounter adhesive residue and possibly an under-layer. Use the floor scraper to remove as much adhesive as possible. For stubborn areas, you may need to use a chemical adhesive remover. Be sure to follow all safety guidelines when using chemicals.
Step Four: Cleaning the Subfloor
Finally, sweep and vacuum the subfloor to remove any remaining debris. If you plan to install new flooring immediately, ensure the subfloor is clean and level.
Useful Tips and Advice for Each Step
- Preparation: Don’t skip safety gear; it’s crucial for your well-being.
- Starting the Removal: Keep the utility knife sharp for clean cuts, making removing the strips easier.
- Dealing with Adhesive: If using chemical removers, ensure the area is well-ventilated.
- Cleaning the Subfloor: Take your time to remove all debris; any leftover material can affect the installation of new flooring.
Having overseen numerous flooring removal projects, I can assure you that following these steps will help you achieve a successful outcome. The key is preparation and having the right tools, which is why this guide aims to be your go-to resource for PVC flooring removal. With detailed steps and practical tips, you’re well on your way to completing this project efficiently and safely.
Disposal of the Removed PVC Flooring

Environmental Considerations
Once you’ve successfully removed your PVC flooring, the next step is disposal. It’s crucial to consider the environmental impact of how you dispose of the material. PVC flooring can contain chemicals that are harmful to the environment if not disposed of correctly. In my years of working in the flooring industry, I’ve always prioritized eco-friendly disposal methods to minimize environmental impact.
Recycling and Disposal Options
Fortunately, there are several options for responsibly disposing of your old PVC flooring. Many recycling centers accept PVC materials and will ensure they are processed in an environmentally friendly manner. Some local authorities also offer special collection services for such items. If recycling is not an option, consider using a certified waste disposal service that complies with environmental regulations.
Another option is to repurpose the material. I’ve seen old PVC flooring used in art projects, temporary surfaces, and even as mats for gardening. It’s a creative way to give material a second life.
Disposing of PVC flooring responsibly is not just good for the environment; it’s also the right thing to do. With multiple options available, there’s no reason to resort to methods that could harm our planet.
Conclusion
Removing PVC flooring is a multi-step process that requires careful planning, the right tools, and a focus on safety. From my years in the industry, I can attest that taking the time to prepare and follow each step diligently will make the process smoother and more efficient. Equally important is the responsible disposal of the removed material, which not only reflects well on you as a homeowner, but also contributes positively to environmental sustainability. This guide aims to be your comprehensive resource for tackling this project effectively and responsibly.
