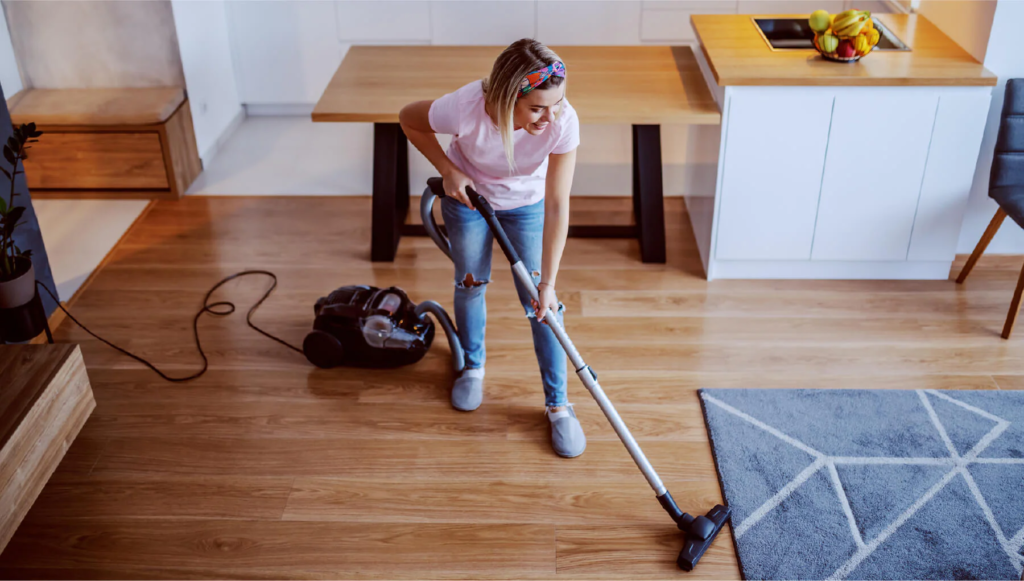
Are you tired of your PVC flooring losing its shine over time? Do you find yourself constantly searching for ways to restore its original luster? You’re not alone. Many homeowners struggle with maintaining the aesthetic appeal of their PVC floors, especially in high-traffic areas.
Fortunately, polishing your PVC flooring is a straightforward process that can bring back its shine and extend its lifespan. With the right tools and techniques, you can easily handle this task, saving time and money.
So, why wait? Dive into this step-by-step guide to learn how to polish your PVC flooring like a pro. Your floor will thank you, and you’ll enjoy a cleaner, brighter living space.
The Importance of Polishing PVC Flooring
Durability and Features of PVC Flooring
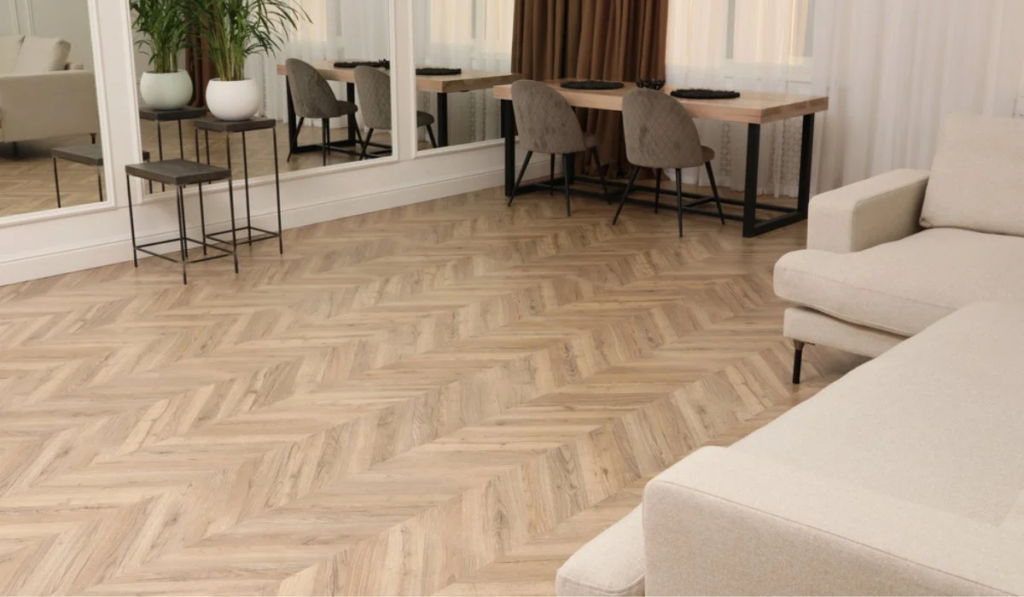
PVC flooring is renowned for its durability and versatility. It’s a popular choice for residential and commercial spaces due to its resistance to stains, scratches, and dents. I’ve seen firsthand how well PVC flooring can withstand the rigors of daily life, from heavy foot traffic to accidental spills. Its resilience makes it a long-lasting option, but that doesn’t mean it’s entirely maintenance-free.
Significance of Routine Maintenance for Longevity
While PVC flooring is durable, routine maintenance is essential to keep it in optimal condition. Regular cleaning removes dirt and debris, but the surface can lose its shine over time. That’s where polishing comes into play. Having spent years in the flooring industry, I can attest that a well-maintained PVC floor looks better and lasts longer. It’s a small investment of time that pays off in the long run.
Role of Polishing in Maintaining the Aesthetics and Functionality
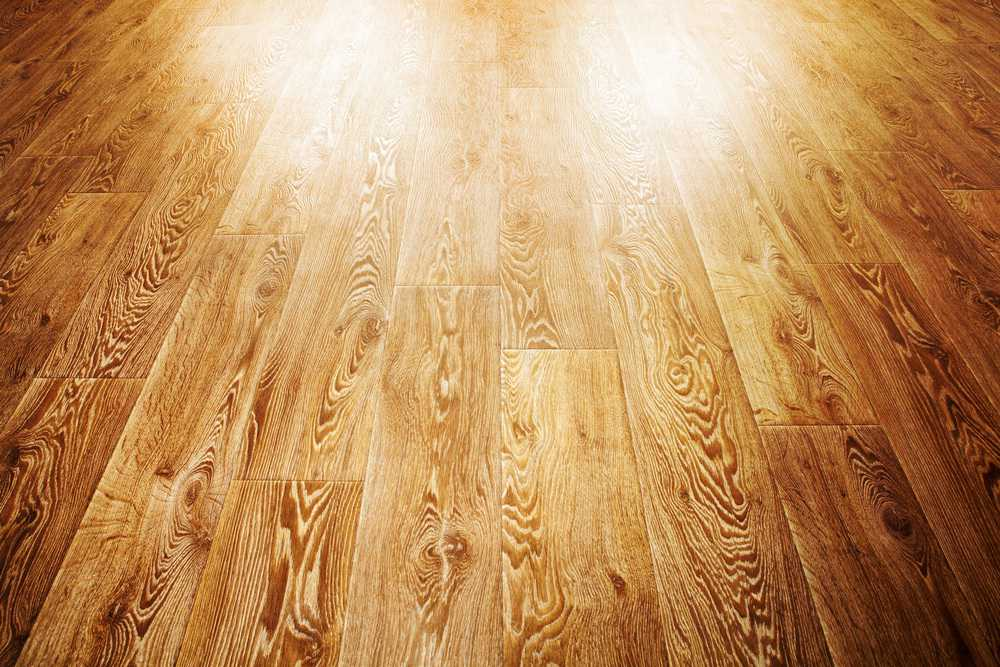
Polishing your PVC flooring is more than just a cosmetic enhancement; it’s a functional necessity. A polished floor is easier to clean, less prone to staining, and can even improve traction, reducing the risk of slips and falls. I’ve consulted with numerous homeowners amazed at how a simple polishing routine could transform their floors from dull to dazzling while making them safer and more functional.
Understanding the Materials Needed for Polishing PVC Flooring
List of Materials and Products Needed
Before you start the polishing process, it’s crucial to gather all the necessary materials. Here’s a list of items you’ll need:
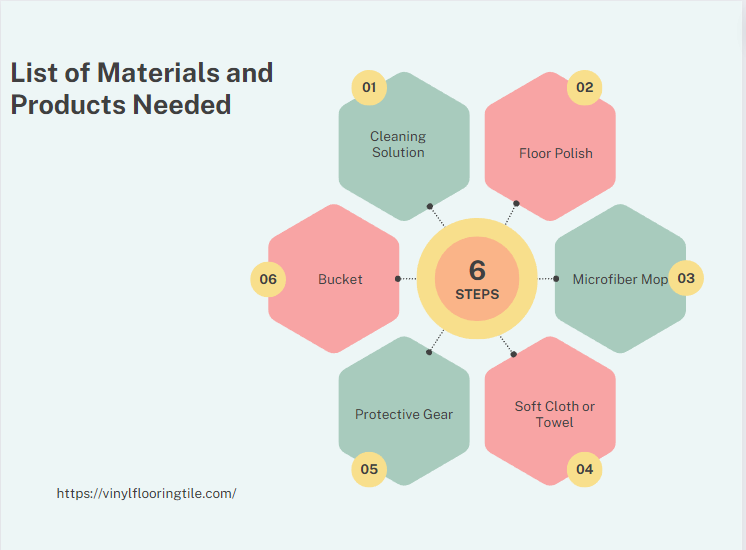
- Cleaning Solution
A pH-neutral cleaner designed for PVC flooring. A pH-neutral cleaner is essential for removing dirt without damaging the PVC surface. I’ve seen the damage that harsh chemicals can do, and it’s not pretty.
- Floor Polish
A high-quality polish specifically made for PVC floors. The polish not only enhances the floor’s appearance but also adds a protective layer. Make sure to choose a product that is specifically designed for PVC flooring to get the best results.
- Microfiber Mop
For applying the cleaning solution and polish. A microfiber mop is gentle on the floor and effective in applying the cleaning solution and polish evenly.
- Soft Cloth or Towel
To wipe down the floor after cleaning. This is used for wiping down the floor after cleaning to ensure it’s completely dry before applying the polish.
- Protective Gear
Gloves and a mask for safety. Safety first. Gloves protect your hands from chemicals, and a mask helps you avoid inhaling fumes.
- Bucket
To mix the cleaning solution. A simple bucket is needed to mix your cleaning solution and water.
Having been involved in numerous flooring projects, I can’t stress enough the importance of using the right materials. The wrong cleaner or polish can do more harm than good.
Step-By-Step Guide to Cleaning the PVC Flooring before Polishing
Instructions on Clearing the Floor Area
The first step in preparing your PVC floor for polishing is to clear the area. Remove all furniture, rugs, and other items from the floor. This ensures you have unobstructed access to the entire surface. I’ve found that missing this step often leads to uneven polishing and can even cause damage to furniture.
Steps to Clean and Remove Stains on the PVC Floor
- Mix the Cleaning Solution: In a bucket, mix a pH-neutral cleaner with water according to the manufacturer’s instructions.
- Apply the Cleaner: Using a microfiber mop, apply the cleaning solution to the floor, making sure to cover all areas.
- Scrub Stains: For stubborn stains, use a soft-bristle brush to gently scrub the area. I’ve dealt with all kinds of stains, and a little elbow grease goes a long way.
- Rinse the Floor: Once the floor is clean, rinse it with clean water to remove any residual cleaner.
Tips for Drying the Floor before the Polishing Process
- Use a Soft Cloth: After rinsing, use a soft cloth or towel to wipe down the floor. This ensures that it’s completely dry and ready for polishing.
- Allow Natural Drying: If possible, allow the floor to air-dry for an additional 15-20 minutes. This ensures that the floor is completely dry and will absorb the polish effectively.
- Check for Wet Spots: Before you start polishing, walk around the floor to make sure there are no wet spots left. Any moisture can interfere with the polishing process.
Cleaning the floor properly before polishing is a crucial step. I’ve seen too many DIY projects go awry because people rush through the cleaning stage. Take your time, and your floor will be ready for a perfect polish.
Step-By-Step Guide to Polishing PVC Flooring
Applying the Polish on PVC Floor
| Prepare the Polish | Shake the bottle well before opening to ensure the polish is well-mixed. |
| Pour the Polish | Pour a small amount of polish onto a tray or directly onto the floor |
| Apply Polish | Using a microfiber mop, spread the polish evenly across the floor, working in small sections. |
| Smooth Out | Make sure to smooth out any bubbles or streaks as you go along. |
- Prepare the Polish: Shake the bottle well before opening to ensure the polish is well-mixed.
- Pour the Polish: Pour a small amount of polish onto a tray or directly onto the floor.
- Apply Polish: Using a microfiber mop, spread the polish evenly across the floor, working in small sections.
- Smooth Out: Make sure to smooth out any bubbles or streaks as you go along.
Tips for Ensuring an Even Application
- Work in Sections: It’s easier to manage and ensures a more uniform application.
- Use the Right Tools: A microfiber mop or applicator pad is essential for an even application. Trust me, the right tools make all the difference.
- Check Your Work: After you’ve covered a section, take a moment to look for streaks or bubbles and smooth them out.
Importance of Allowing Adequate Drying Time
- First Layer: Allow the first layer of polish to dry for at least 30 minutes. Rushing this step can result in a tacky finish.
- Touch Test: Gently touch the floor to make sure it’s dry before applying additional layers.
Guidance on Applying Multiple Polish Layers (If Necessary)
- Second Layer: If you find that one layer isn’t enough, a second layer can be applied. Just make sure the first layer is completely dry.
- Direction Matters: Apply the second layer in a direction perpendicular to the first to ensure even coverage.
Polishing your PVC flooring is a straightforward process, but attention to detail is crucial. I’ve polished countless floors and can attest that taking your time during each step will yield the best results. Whether you’re a DIY enthusiast or a professional, these steps will help you achieve a floor that not only looks great but also stands the test of time.
Post-Polishing Care for PVC Flooring
How Long to Wait Before Walking on the Polished Floor

After you’ve completed the polishing process, it’s crucial to allow adequate time for the polish to set. I recommend waiting at least 2 hours before walking on the floor. This ensures that the polish has fully dried and won’t be disturbed, which is a common mistake I’ve seen people make.
Suggestions for Maintaining the Shine and Smoothness
- Regular Cleaning: Use a pH-neutral cleaner for regular maintenance. This will help maintain the shine without damaging the polish.
- Avoid Harsh Chemicals: Steer clear of abrasive cleaners as they can strip away the polish and dull the surface.
- Use Soft Cleaning Tools: Always use a microfiber mop or cloth to avoid scratching the surface.
Preventive Measures to Avoid Damage and Extend the Life of the Polish
- Use Floor Protectors: Place protectors under furniture legs to prevent scratches.
- Limit Direct Sunlight: Excessive sunlight can fade the color and affect the polish. Use curtains or blinds to control the amount of sunlight.
- Promptly Clean Spills: Any liquid spills should be cleaned immediately to prevent staining and potential damage to the polish.
Taking care of your polished PVC floor doesn’t have to be a chore. With a few simple steps, you can maintain its shine and extend its lifespan.
Mistakes to Avoid While Polishing PVC Flooring
Common Mistakes and Misconceptions
| Using the Wrong Cleaner | One of the most common mistakes is using a cleaner that’s too acidic or alkaline for PVC flooring. This can damage the surface and affect the polish. |
| Skipping the Cleaning Step | Some people jump straight to polishing, thinking it will save time. This often leads to an uneven finish and can trap dirt under the polish. |
| Applying Too Much Polish | More is not always better. Excessive polish can create a sticky surface and make the floor look cloudy. |
- Using the Wrong Cleaner: One of the most common mistakes is using a cleaner that’s too acidic or alkaline for PVC flooring. This can damage the surface and affect the polish.
- Skipping the Cleaning Step: Some people jump straight to polishing, thinking it will save time. This often leads to an uneven finish and can trap dirt under the polish.
- Applying Too Much Polish: More is not always better. Excessive polish can create a sticky surface and make the floor look cloudy.
Tips to Avoid These Mistakes for an Efficient Polishing Process
- Read Labels Carefully: Always read the labels on cleaning and polishing products to ensure they’re suitable for PVC flooring. I’ve seen the wrong product ruin an otherwise perfect floor.
- Test a Small Area: Before applying polish to the entire floor, test it on a small, inconspicuous area to ensure it gives the desired result.
- Follow Drying Times: Patience is key. Make sure each layer of polish is completely dry before applying the next layer. Rushing through this can lead to disappointing results.
Conclusion
Polishing your PVC flooring is not just an aesthetic choice; it’s a practical one that extends the life and functionality of your floor. With years of experience in the flooring industry, I can assure you that a well-maintained floor not only enhances the beauty of your space but also saves you money in the long run. So, don’t underestimate the power of a good polish. Follow the guidelines laid out in this article, and you’ll enjoy a floor that remains in top condition for years to come.
