
Have you ever stared at a PVC flooring roll, wondering how to cut it precisely for a seamless fit? You’re not alone. Many homeowners and DIY enthusiasts face this challenge, often resulting in wasted material and time. The good news is that cutting PVC flooring doesn’t have to be a daunting task.
This guide will walk you through a step-by-step process to cut PVC flooring like a pro. With the right tools and techniques, you can achieve a perfect fit, whether working on a tiny bathroom or a large living area. So, why settle for less when you can have the best? Stick around, and by the end of this article, you’ll be equipped with the knowledge and confidence to tackle your PVC flooring project.

Understanding PVC Flooring
PVC, or Polyvinyl Chloride, flooring is a versatile and durable option that has gained popularity in both residential and commercial settings. It’s water-resistant, easy to clean, and offers a wide range of designs, from wood-look to marble-effect. Having installed PVC flooring in various settings, from homes to offices, I can attest to its adaptability and resilience. It’s an excellent choice for areas prone to moisture, like bathrooms and kitchens, and high-traffic areas like hallways and commercial spaces.
Types of PVC Flooring
When it comes to PVC flooring, you have several options to choose from, each with its unique set of features:

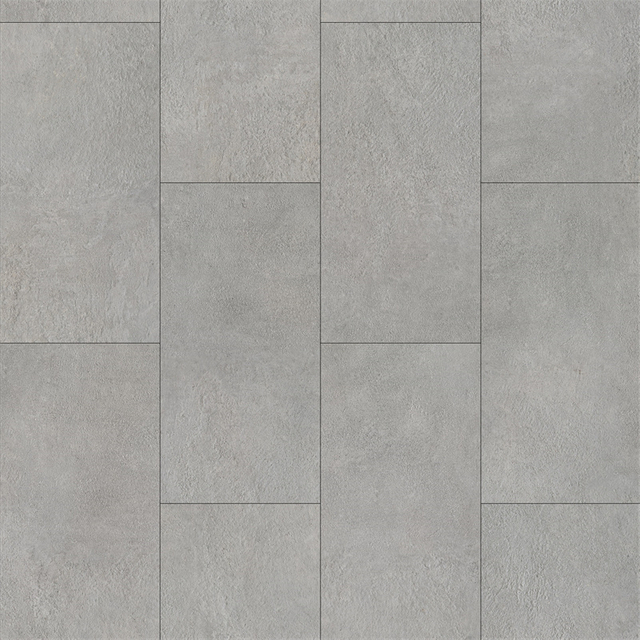
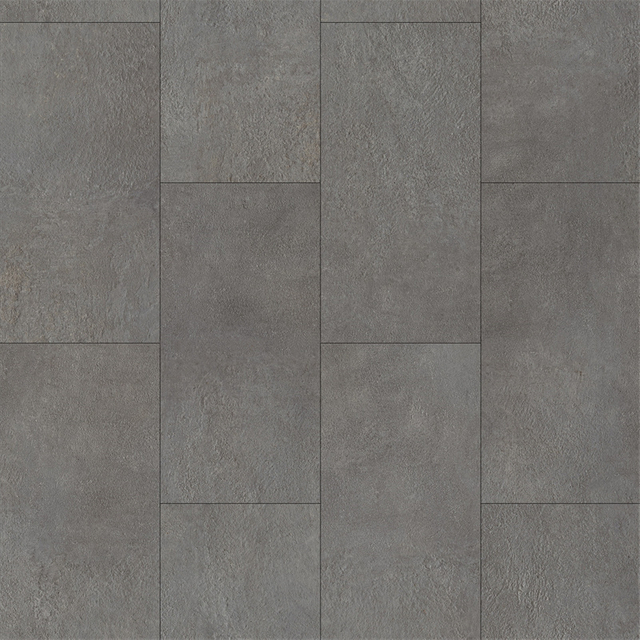
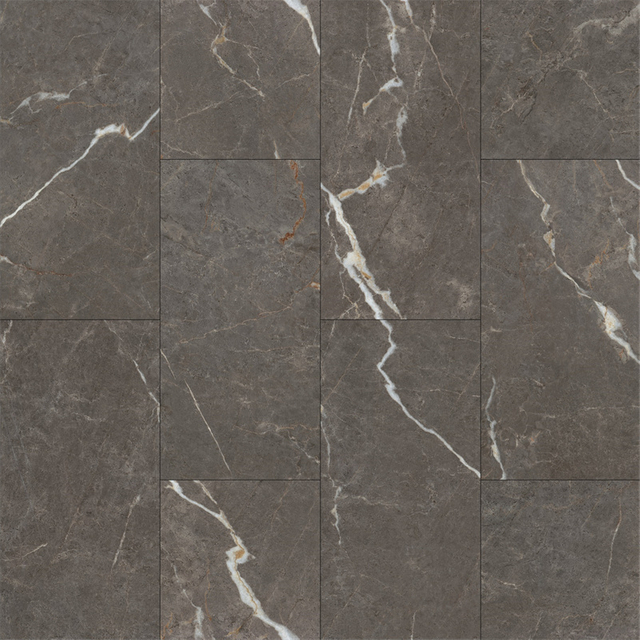
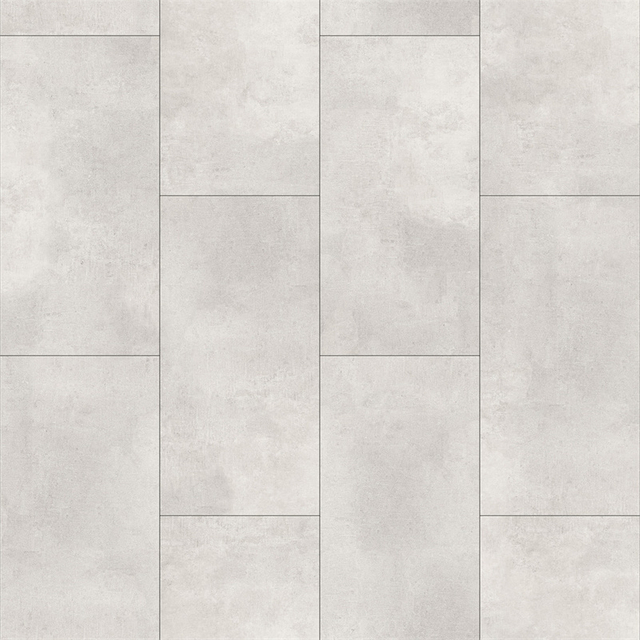
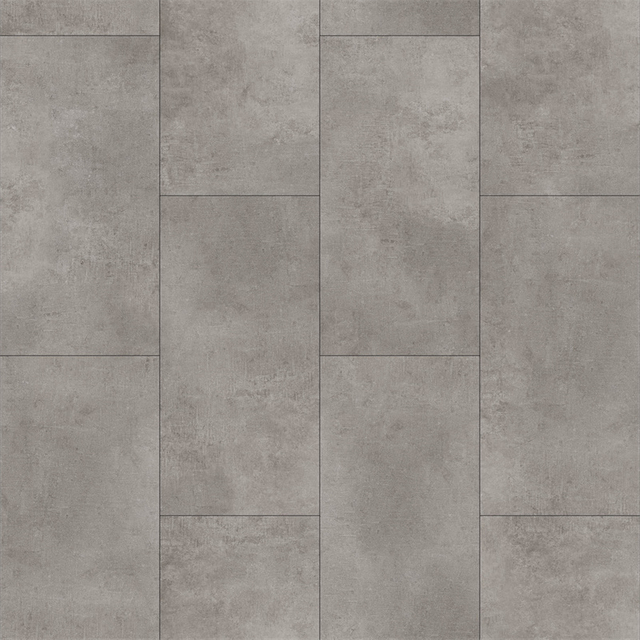
- Sheet Vinyl: Large, flexible sheets provide a seamless look. Ideal for moisture-prone areas.
- Vinyl Tiles: These are individual squares that mimic the look of natural materials like stone or wood. They are easy to replace if one gets damaged.
- Luxury Vinyl Planks (LVP) offer the most realistic wood and stone looks. They are also thicker and more durable, making them suitable for commercial use.
- Vinyl Composition Tile (VCT): These are primarily used in commercial settings and offer a retro look with modern durability.
Tools for Cutting PVC Flooring
Before you start cutting your PVC flooring, gathering all the necessary tools is crucial. Trust me, having the right tools at your disposal can make the process much smoother and more efficient. Here’s a list of tools you’ll need:

- Utility Knife:
For making precise cuts. This is your primary tool for cutting PVC flooring. A sharp blade ensures clean, straight cuts, reducing the chances of fraying or tearing. I’ve found that a utility knife with a retractable blade is particularly useful for making both straight and intricate cuts.
- Measuring Tape:
To measure the dimensions accurately. Accurate measurements are crucial for a seamless fit. A good-quality measuring tape can help you avoid costly mistakes.
- Ruler or Straight Edge:
For guiding your cuts. This tool acts as a guide for your utility knife, ensuring your cuts are straight and true. I often use a metal ruler for better durability and precision.
- Pencil or Chalk:
For marking the cutting lines. These are used for marking where you’ll make your cuts. I prefer using chalk for darker flooring and a pencil for lighter shades.
- Cutting Mat:
To protect the surface underneath. This protects the surface you’re working on and can also extend the life of your utility knife blade.
- Safety Glasses and Gloves.
To protect your eyes and hands during the cutting process. Safety should never be compromised. These items protect your eyes and hands from potential injuries.
Safety Precautions while Handling PVC Flooring and Tools
Safety should always be your top priority when working on any DIY project, especially one that involves cutting materials and using sharp tools. I’ve seen firsthand how neglecting safety measures can lead to easily avoidable accidents. Therefore, it’s crucial to take the necessary precautions to ensure a safe and successful project.
List of Safety Precautions

Here are some essential safety precautions to keep in mind:
- Proper Handling of Tools: Always hold the utility knife firmly and cut away from your body. Make sure the blade is sharp; a dull blade requires more force and can slip, increasing the risk of injury.
- Wearing Gloves and Safety Goggles: These are non-negotiable. Gloves protect your hands from cuts, while safety goggles shield your eyes from flying debris.
- Working in a Well-Ventilated Area: PVC flooring can sometimes emit fumes when cut, especially if you use any adhesive. Ensure you’re working in a well-ventilated space or, if possible, outdoors.
- Keep a First Aid Kit Nearby: Accidents can happen despite all precautions. Having a first aid kit within arm’s reach allows for immediate treatment of any minor injuries.
- Avoid Distractions: Keep your workspace free from distractions like pets or children. Your focus should solely be on the task at hand.
- Double-Check Measurements: Before making any cuts, always double-check your measurements. A small mistake can not only ruin your material but also pose a safety risk.
- Secure the Flooring: Make sure the piece you’re cutting is securely placed on a stable surface to prevent any slippage during the cutting process.
Step-by-step Guide to Cutting PVC Flooring

Preparing the Floor Area
The first step in any flooring project is to prepare the area where you’ll be installing the PVC flooring. Trust me, a clean and even surface can make all the difference in the final outcome.
- Remove Old Flooring: If there’s existing flooring, it needs to be removed to expose the subfloor.
- Clean the Subfloor: Use a broom or vacuum to remove any dirt, dust, or debris. For stubborn stains, a damp mop can be used.
- Check for Evenness: Use a level to make sure the subfloor is even. If there are any uneven spots, they should be filled and smoothed out.
Measuring and Marking the Floor
Accurate measurements are crucial for a seamless installation. Here’s how to go about it:
- Take Initial Measurements: Use measuring tape to measure the length and width of the room. Always measure from the furthest points to ensure accuracy.
- Calculate Flooring Needed: Multiply the length by the width to get the total square footage. Add 10% extra for waste and mistakes.
- Mark the Cutting Lines: Use a pencil or chalk and a straight edge to mark where you’ll make your cuts on the PVC flooring.
Cutting PVC Flooring
Now comes the most critical part—cutting the PVC flooring. Here’s a step-by-step guide:

- Place the Flooring on a Cutting Mat: This protects the surface underneath and ensures a cleaner cut.
- Align the Straight Edge: Place a ruler or straight edge along the line you’ve marked for cutting.
- Hold the Utility Knife Firmly: Make sure you hold the knife securely and at a slight angle for better control.
- Make the Cut: Apply steady pressure and cut along the straight edge. For curves or corners, make multiple smaller cuts to achieve the desired shape.
- Check for Accuracy: After making the cut, double-check to ensure it fits the area where it will be installed. Make any adjustments if necessary.
Having been involved in numerous PVC flooring projects, I can assure you that following these steps will help you achieve professional results. The key is preparation and attention to detail. So, take your time, follow the guidelines, and you’ll have a beautifully installed PVC floor in no time.
Common Mistakes to Avoid When Cutting PVC Flooring
Potential Problems
| Inaccurate Measurements | This can lead to wastage of material and an uneven finish. |
| Using Dull Blades | A dull blade can result in jagged edges and increase the risk of accidents |
| Ignoring Safety Measures | Neglecting safety can lead to injuries and compromise the quality of the project. |
| Rushing Through the Process | Haste often leads to mistakes that can be costly to rectify. |
Even with the best of intentions, mistakes can happen. Having encountered a fair share of them in my own projects, I can tell you that being aware of these pitfalls can save you both time and resources. Here are some common issues you might run into:
- Inaccurate Measurements: This can lead to wastage of material and an uneven finish.
- Using Dull Blades: A dull blade can result in jagged edges and increase the risk of accidents.
- Ignoring Safety Measures: Neglecting safety can lead to injuries and compromise the quality of the project.
- Rushing Through the Process: Haste often leads to mistakes that can be costly to rectify.
Tips to Avoid These Mistakes
| Double-Check Measurements | Always measure twice and cut once. This simple rule can save you a lot of trouble. |
| Keep Blades Sharp | Make sure your utility knife is sharp before starting the project. A sharp blade not only makes the job easier but also safer. |
| Adhere to Safety Protocols | Never compromise on safety. Always wear gloves and safety goggles, and make sure you’re working in a well-ventilated area. |
| Take Your Time | Rome wasn’t built in a day, and neither will your flooring project be. Take the time to do things right, and you’ll be rewarded with a professional finish. |
- Double-Check Measurements: Always measure twice and cut once. This simple rule can save you a lot of trouble.
- Keep Blades Sharp: Make sure your utility knife is sharp before starting the project. A sharp blade not only makes the job easier but also safer.
- Adhere to Safety Protocols: Never compromise on safety. Always wear gloves and safety goggles, and make sure you’re working in a well-ventilated area.
- Take Your Time: Rome wasn’t built in a day, and neither will your flooring project be. Take the time to do things right, and you’ll be rewarded with a professional finish.
By being aware of these common mistakes and knowing how to avoid them, you’re already a step ahead in ensuring a successful project. Trust me, a little caution and preparation go a long way in achieving the results you desire.
Conclusion
Cutting PVC flooring may seem like a daunting task, but with the right tools and techniques, it’s entirely manageable. Having been involved in numerous flooring projects, I can assure you that preparation and attention to detail are your best allies. This guide aims to equip you with the knowledge and confidence you need to tackle your PVC flooring project effectively.
So, whether you’re a DIY enthusiast or a homeowner looking to make some upgrades, this article is your go-to resource for cutting PVC flooring like a pro. Trust me, a little time spent reading this guide can save you a lot of time and effort down the line.
