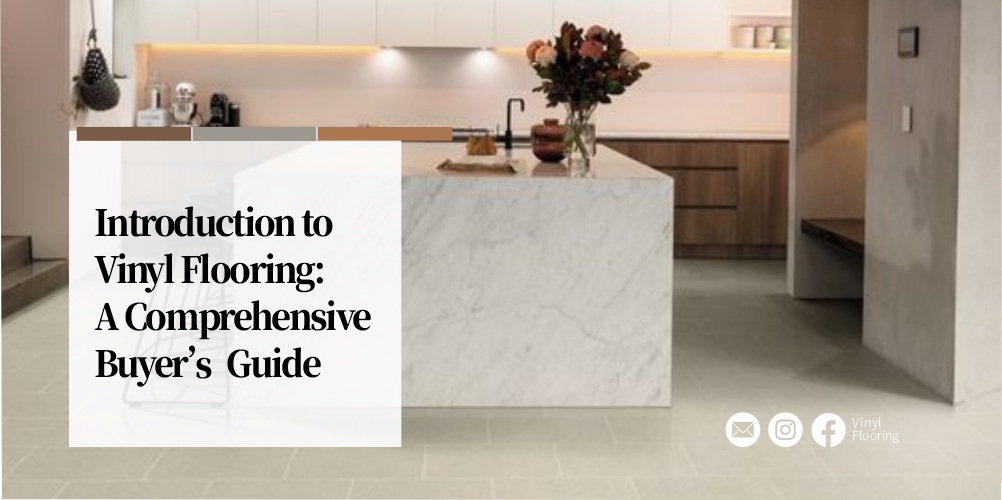
Are you looking to install vinyl click lock flooring? This comprehensive guide has everything you need, from step-by-step instructions to maintenance tips. Discover the advantages of this popular flooring option and compare it to others. Get ready to transform your home easily and enjoy durable, cost-effective floors.
- Step-by-step instructions for installing vinyl click lock flooring
- Maintenance tips to keep your floors looking their best
- Advantages of vinyl click lock flooring compared to other types
- Tips for troubleshooting common installation issues
- Comparisons with hardwood, laminate, and carpet flooring
Delve deeper into the world of vinyl click lock flooring. Learn how to troubleshoot common issues and explore customer testimonials. Gain expert knowledge on easy DIY installation, durability, low maintenance, and cost-effectiveness. Your dream floors are just a few steps away.
What is Vinyl Click Lock Flooring?
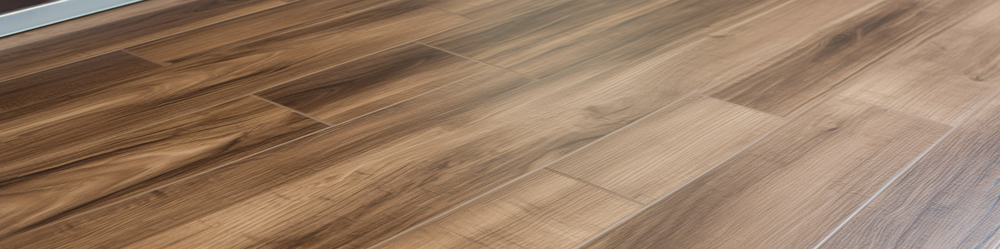
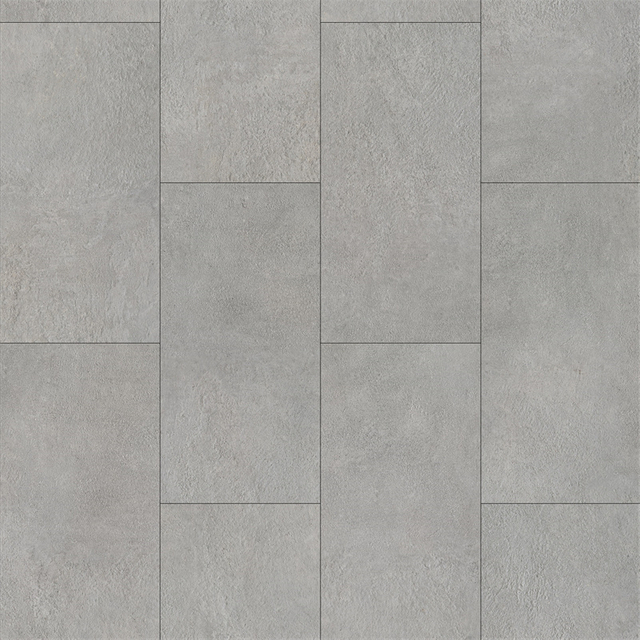
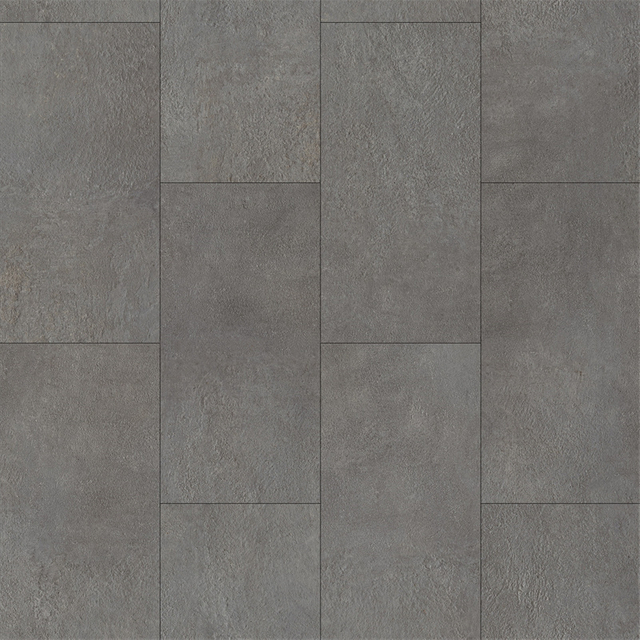
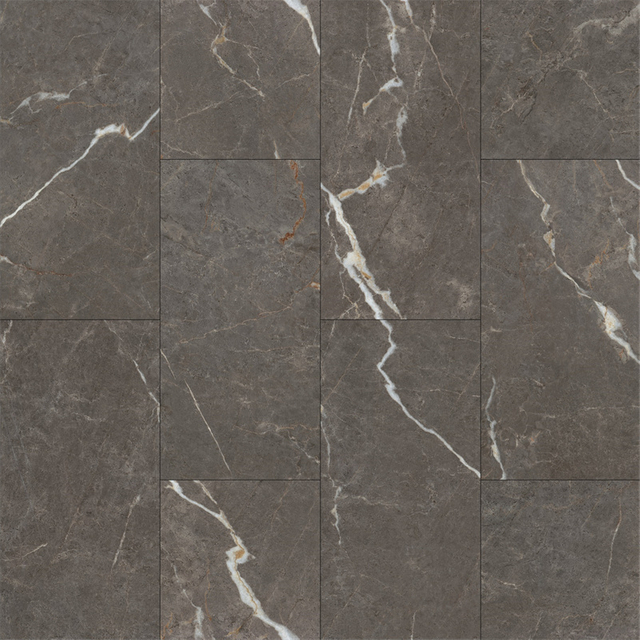
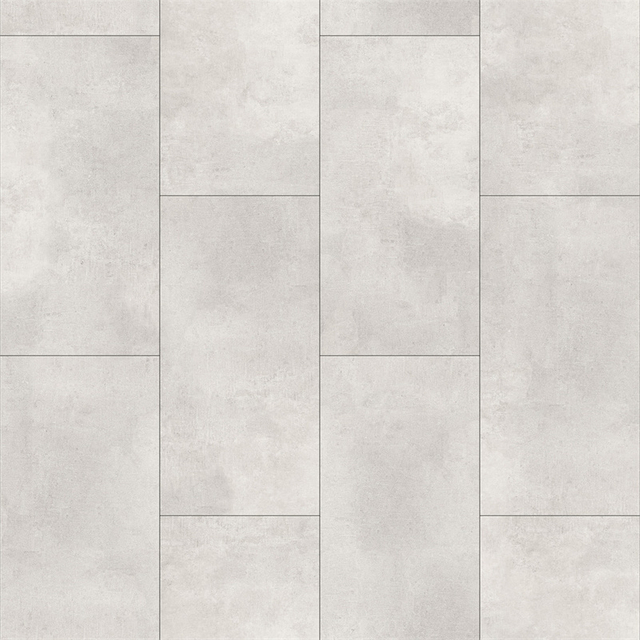
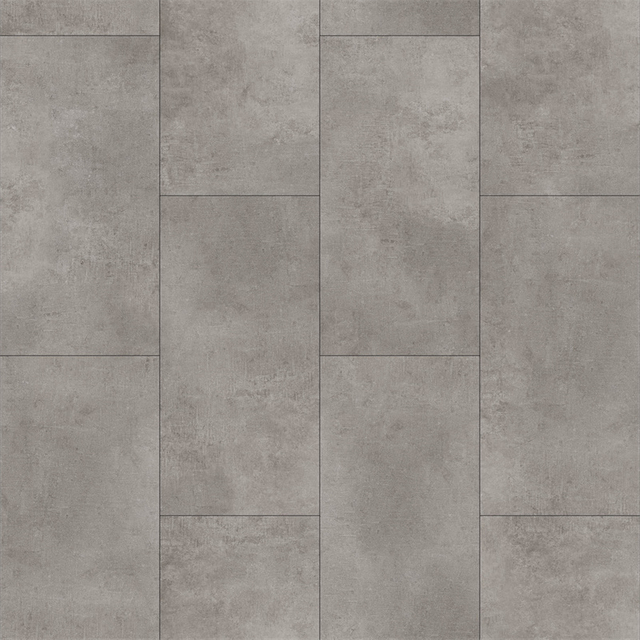
Vinyl click-lock flooring is a type of resilient flooring with an innovative installation system. It comprises vinyl planks or tiles that seamlessly lock together using a click-and-lock mechanism. This flooring option has gained popularity among homeowners due to its ease of installation, durability, low maintenance requirements, and cost-effectiveness.
Importance of Easy DIY Installation for Homeowners
Vinyl click lock flooring allows homeowners to tackle installation projects themselves without needing professional assistance. This easy DIY installation feature has several benefits, including cost savings, convenience, and the ability to customize the flooring according to individual preferences. Homeowners can achieve professional-looking results by following step-by-step instructions and using the right tools.
Advantages of Vinyl Click Lock Flooring
Durability and Resistance to Wear and Tear
Vinyl click lock flooring is known for its exceptional durability. It is designed to withstand heavy foot traffic, making it suitable for high-traffic home areas such as entryways, kitchens, and living rooms. The wear layer on top of the vinyl planks protects against scratches, stains, and fading, ensuring the flooring maintains its aesthetic appeal over time.
Low Maintenance Requirements
Vinyl click lock flooring requires minimal maintenance, making it an attractive option for busy homeowners. Regular sweeping or vacuuming to remove dust and debris, combined with occasional damp mopping using a manufacturer-approved cleaner, is typically sufficient to keep the flooring clean. Unlike other flooring types, vinyl click lock flooring does not require periodic refinishing or sealing.
Cost-Effectiveness Compared to Other Types of Flooring
Vinyl click lock flooring offers excellent value for money compared to other flooring options, such as hardwood or natural stone. It is often more affordable to purchase and install, making it a budget-friendly choice for homeowners. Additionally, the durability and low maintenance requirements of vinyl click lock flooring contribute to long-term cost savings.
Click Lock Installation System
Description of the Click Lock Installation System
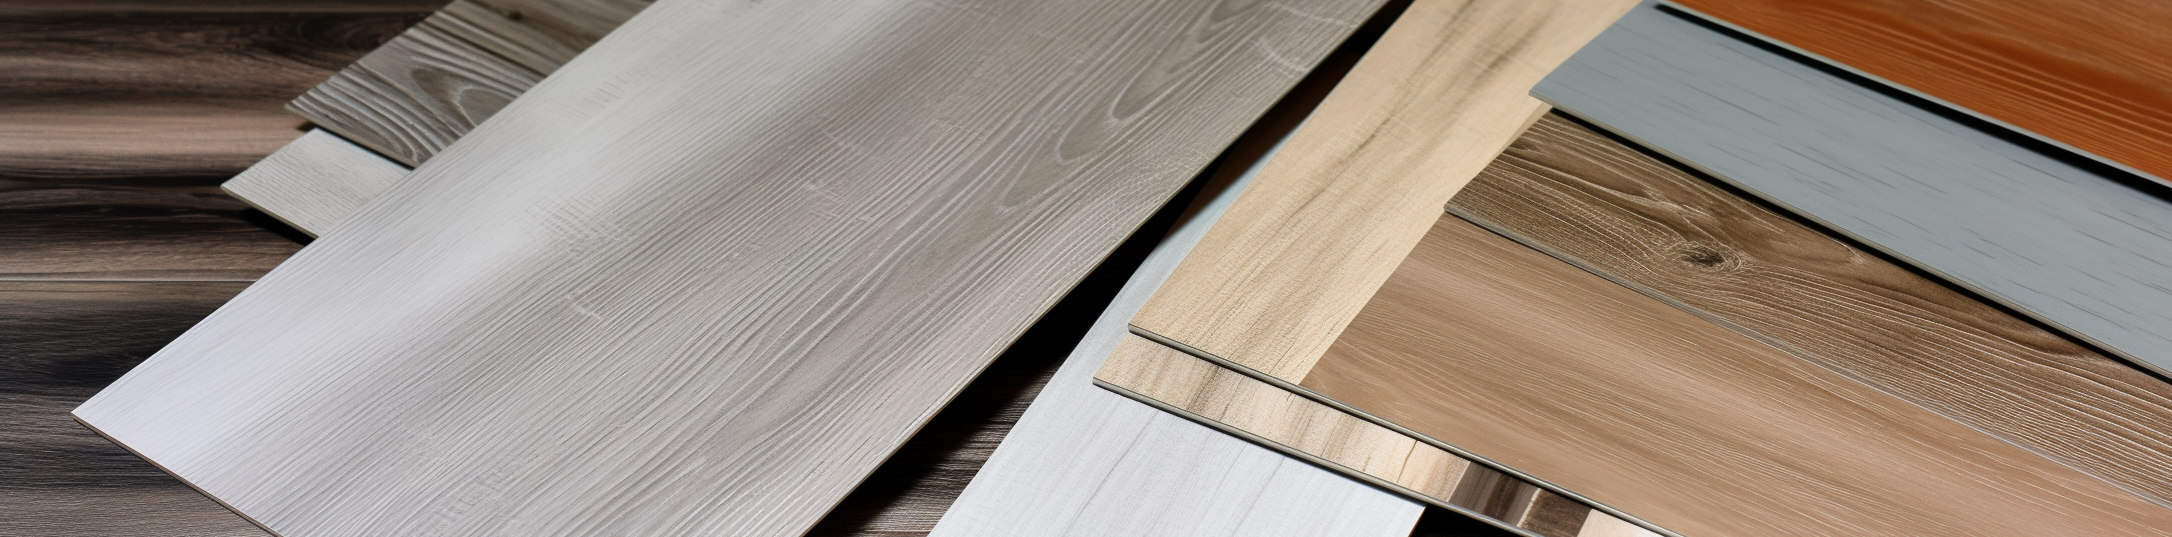
The click lock installation system consists of specially designed vinyl planks or tiles that interlock with each other, creating a tight and secure bond. Each plank or tile has a unique tongue-and-groove profile for easy connection. When installed, the planks are angled and pressed together, and the locking mechanism engages, providing a seamless and stable flooring surface.
Tools Required for Installation
To install vinyl click lock flooring, you will need the following tools:
- Measuring tape
- Utility knife or vinyl cutter
- Straight edge or T-square
- Rubber mallet or tapping block
- Pry bar or pull bar
- Spacers
- Underlayment (if required)
- Installation kit (may include tapping block, pull bar, and spacers)
Step-by-Step Instructions for Installation
Note: Before you begin, carefully read and follow the manufacturer’s installation instructions specific to the vinyl click lock flooring product you have purchased.
Step 1: Prepare the Subfloor
- Ensure the subfloor is clean, dry, and level.
- Remove any existing flooring, baseboards, or trim.
- Repair any damage or unevenness in the subfloor.
Step 2: Acclimatize the Flooring
- Bring the vinyl click lock flooring into the room where it will be installed.
- Allow the flooring to acclimate to the room temperature and humidity for the manufacturer-recommended duration.
Step 3: Lay the Underlayment (if required)
- If the manufacturer recommends, install an underlayment to provide additional cushioning and sound insulation.
- Follow the specific instructions for the underlayment product you have chosen.
Step 4: Measure and Plan
- Measure the room’s dimensions and calculate the amount of flooring needed, accounting for any cutouts or irregularities.
- Plan the flooring layout, considering the planks’ direction and ensuring a balanced and aesthetically pleasing arrangement.
Step 5: Start Installation
- Begin installation in the corner of the room, starting with the first row of planks.
- Place spacers against the wall to create an expansion gap, typically around 1/4 inch.
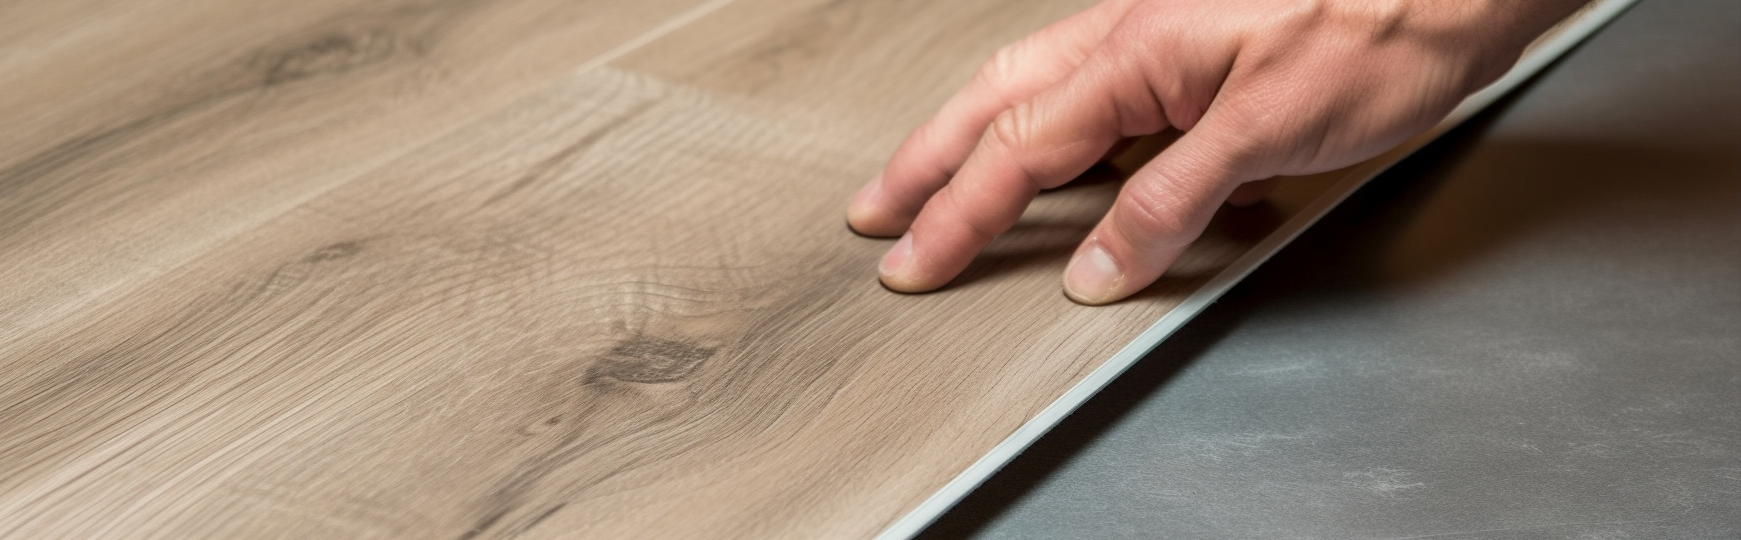
- Insert the tongue of the first plank into the groove of the second plank at a slight angle.
- Use a rubber mallet or tapping block to tap the planks together until they lock securely and gently.
- Continue this process, adding planks row by row, ensuring each plank is securely locked.
- Use a straight edge or T-square to ensure the planks are aligned and straight as you progress.
Step 6: Cutting and Fitting Planks
- Measure and mark the planks that must be cut to fit around obstacles or at the ends of rows.
- Use a utility knife or vinyl cutter to score and cut the planks according to the marked measurements.
- Fit the cut planks into place, ensuring a snug and seamless fit against walls or obstacles.
Step 7: Complete the Installation
- Continue installing the planks row by row until the entire floor is covered.
- Use a rubber mallet or tapping block to ensure all planks are securely locked together.
- Remove spacers and install baseboards or trim to cover the expansion gap around the room’s edges.
Preparation for Installation
Cleaning and Prepping the Subfloor
- Clear the subfloor of any debris, dust, or adhesive residue.
- Sweep or vacuum the subfloor to ensure it is clean and smooth.
- Use a moisture meter to check for excessive moisture levels in the subfloor if necessary.
Estimating the Amount of Flooring Needed
- Measure the length and width of the room, accounting for any irregular shapes or cutouts.
- Multiply the length by the width to calculate the total square footage.
- Add 5-10% to the total square footage to account for waste or mistakes during installation.
Acclimatizing the Flooring to the Room Temperature
- Follow the manufacturer’s recommendations for acclimating the vinyl click lock flooring to the room.
- Typically, this involves allowing the flooring to sit in the room for 24-48 hours before installation to adjust to the temperature and humidity.
Troubleshooting Common Installation Issues
Dealing with Uneven or Unstable Subfloors
- If the subfloor is uneven, use a self-leveling compound or plywood underlayment to create a smooth surface.
- For unstable subfloors, ensure proper subfloor preparation and consider reinforcing with additional fasteners or adhesive.
Correcting Gaps or Buckling in the Flooring
- Check for gaps or buckling between planks during installation.
- Ensure the planks are securely locked together by tapping them with a rubber mallet or tapping block.
- If gaps persist, disassemble the affected area and inspect for damaged or defective planks. Replace as necessary.
Adjusting the Underlayment for Optimal Results
- If using an underlayment, ensure it is properly installed and does not create an uneven surface or affect the click lock mechanism.
- Trim or adjust the underlayment as needed to ensure a smooth and level installation.
Maintenance and Care for Vinyl Click Lock Flooring
Recommended Cleaning Procedures
- Sweep or vacuum the floor regularly to remove dirt and debris.
- Damp-mop the floor using a manufacturer-approved vinyl floor cleaner mixed with water.
- Avoid using excessive water or abrasive cleaners that may damage the flooring.
Tips for Maintaining the Flooring’s Appearance
Place doormats or rugs at entrances to trap dirt and prevent it from being tracked onto the vinyl click lock flooring.
- Use furniture pads or felt protectors on the legs of furniture to prevent scratches and indentations.
- Wipe up spills and stains immediately to prevent them from seeping into the flooring.
Repair Options for Damaged Sections
- In case of minor scratches or scuffs, use a manufacturer-approved vinyl floor repair kit to touch up the affected area.
- For more significant damage, such as deep scratches or gouges, consider replacing the damaged plank or tile following the manufacturer’s instructions.
Comparison with Other Flooring Types

Pros and Cons of Vinyl Click Lock Flooring Compared to Hardwood, Laminate, and Carpet
Vinyl Click Lock Flooring:
- Pros: Durable, water-resistant, easy to install, low maintenance, a wide range of styles and designs, cost-effective.
- Cons: Less natural appearance compared to hardwood, can be susceptible to fading in direct sunlight, not as sound-absorbent as carpet.
Hardwood Flooring:
- Pros: Natural and timeless aesthetic, high durability, can be refinished multiple times, adds value to the home.
- Cons: Expensive, susceptible to water damage, requires periodic refinishing and maintenance, not suitable for areas with high moisture.
Laminate Flooring:
- Pros: Affordable, durable, scratch-resistant, easy to install, and various designs and styles.
- Cons: Can be susceptible to moisture damage, limited refinishing options, may have a less authentic feel than hardwood.
Carpet Flooring:
- Pros: Soft and comfortable underfoot, provides insulation and sound absorption, and a wide range of colors and textures.
- Cons: Prone to staining and wear, requires regular cleaning and maintenance, not suitable for areas with high moisture or allergies.
Cost Comparison Between Vinyl Click Lock Flooring and Other Types
- Vinyl click lock flooring is more cost-effective than hardwood, laminate, and carpet. The price will vary depending on the quality, brand, and design chosen. However, vinyl click lock flooring is more budget-friendly regarding both material cost and installation expenses.
Applications of Vinyl Click Lock Flooring
Popular Settings for Vinyl Click Lock Flooring
- Vinyl click lock flooring is versatile and can be used in various settings, including residential and commercial spaces.
- It is commonly used in living rooms, kitchens, bathrooms, basements, and entryways.
Specific Applications for Different Rooms in the Home
- Living rooms: Vinyl click lock flooring offers durability and easy maintenance, making it suitable for high-traffic areas.
- Kitchens: The water-resistant properties of vinyl click lock flooring make it an ideal choice for kitchens where spills are common.
- Bathrooms: Vinyl click lock flooring’s resistance to moisture makes it a practical option for bathrooms.
- Basements: The moisture-resistant nature of vinyl click lock flooring makes it a great choice for basements prone to dampness.
Customer Case Studies and Testimonials
- Include real-life examples of homeowners who have installed vinyl click-lock flooring and their experiences. Highlight their satisfaction with the easy DIY installation, durability, and overall flooring performance.
Future Developments
Potential Technological Advancements in Click Lock Flooring
- Advancements may include enhanced locking systems for easier installation, improved designs and textures to mimic natural materials more accurately, and innovative surface treatments for increased durability and scratching resistance.
Market Trends and Growth Projections
- Vinyl click lock flooring has been experiencing significant growth in the flooring market due to its attractive features and benefits. This trend will continue as more homeowners opt for DIY-friendly, cost-effective flooring options.
Implications for the DIY Industry
Vinyl click lock flooring’s easy installation system has empowered homeowners to take on flooring projects, leading to a surge in the DIY industry. This trend is expected to continue as more homeowners embrace DIY installations’ convenience and cost savings. The availability of comprehensive installation guides like this one further supports the growth of the DIY industry by providing homeowners with the knowledge and confidence to undertake their projects.
The implications extend beyond the flooring industry, as the rise of DIY installations for vinyl click lock flooring has led to increased demand for tools, supplies, and online resources tailored to DIY enthusiasts. This has sparked innovation and competition among manufacturers and retailers to cater to the growing DIY market.
In conclusion, vinyl click lock flooring offers numerous advantages, including easy DIY installation, durability, low maintenance requirements, and cost-effectiveness. Homeowners can achieve professional-looking results with proper preparation, tools, and step-by-step instructions. As the popularity of vinyl click lock flooring continues to grow, it is expected to drive further technological advancements and market growth, shaping the future of the DIY industry.
