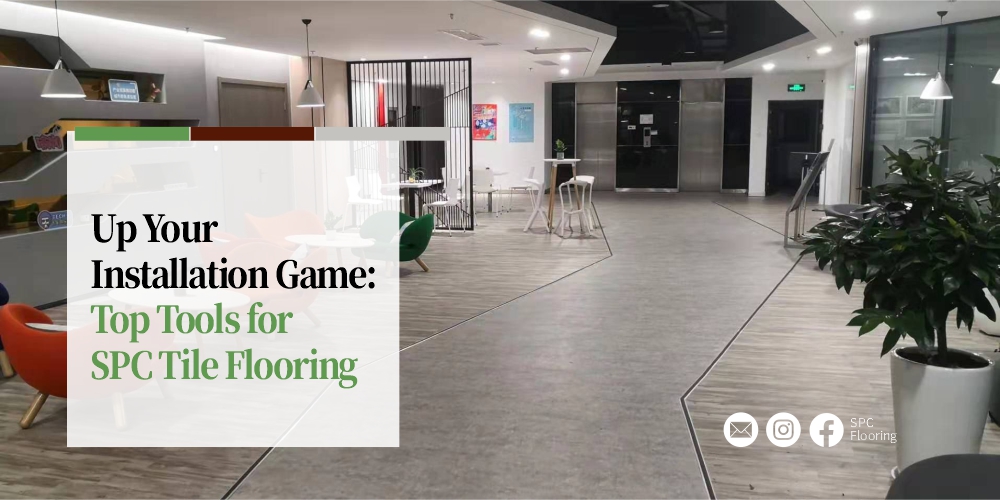
Are you tired of uneven floors and unsightly tile installations? Look no further! Our comprehensive guide to the top tools for SPC tile flooring will take your installation game to the next level. From precision cutters to leveling systems, we’ve got everything you need to achieve flawless results and transform your space with beautiful, durable flooring. Say goodbye to amateur mistakes and hello to professional-grade floors – let’s get started!
Essential Tools
Utility knife or vinyl tile cutter
Measuring tape and chalk line
Trowel with notched edge
Rubber mallet and tapping block
Saw (circular saw or jigsaw)
Spacers and wedges
Straight edge or level
Safety equipment (gloves, knee pads, eye protection)
Optional Tools
Heat gun or hair dryer (for bending tiles around curved edges)
Floor roller (for ensuring strong adhesive bond)
Angle grinder (for trimming tiles)
Moisture meter (to test subfloor moisture levels)
So roll up your sleeves, grab your tools, and get ready to take on this exciting project. Let’s do this!
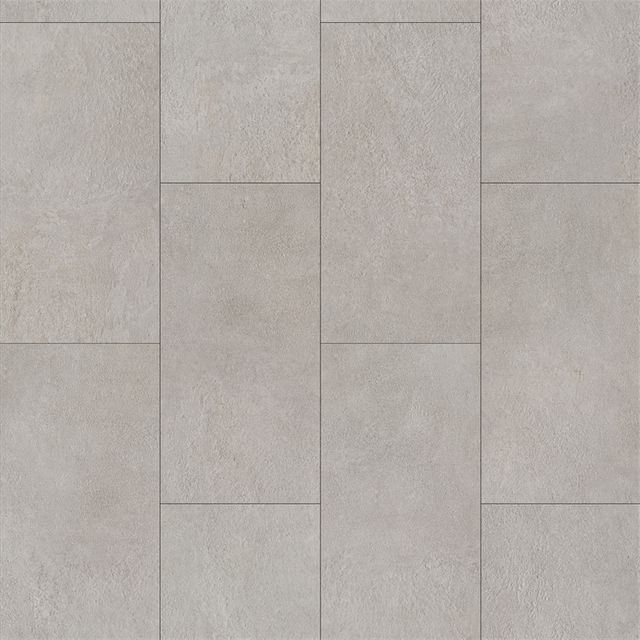
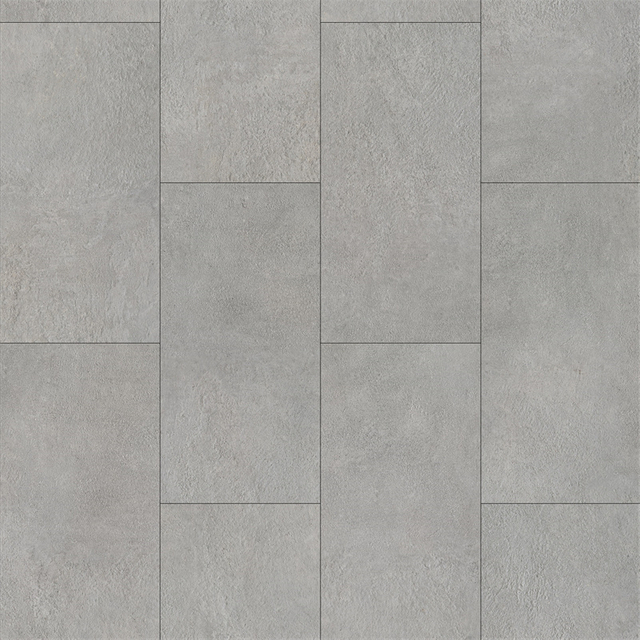
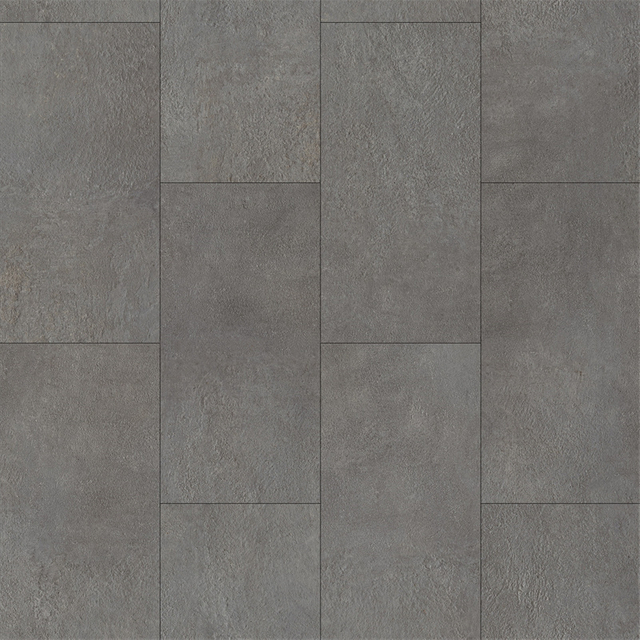
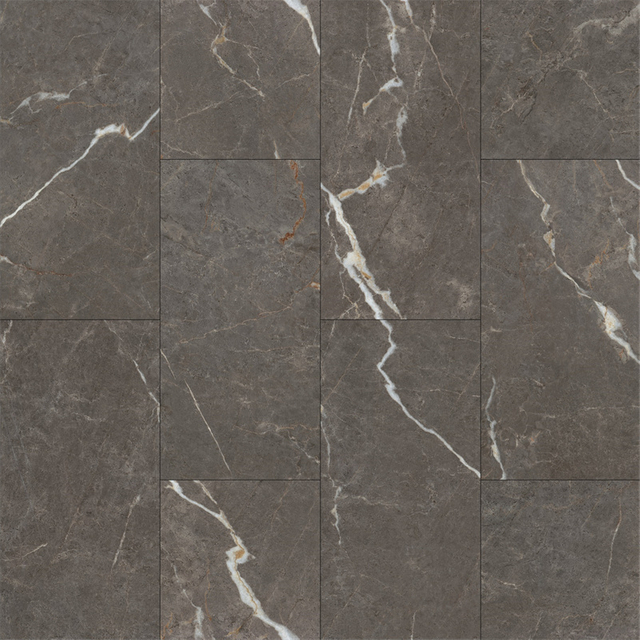
Overview of SPC tile flooring
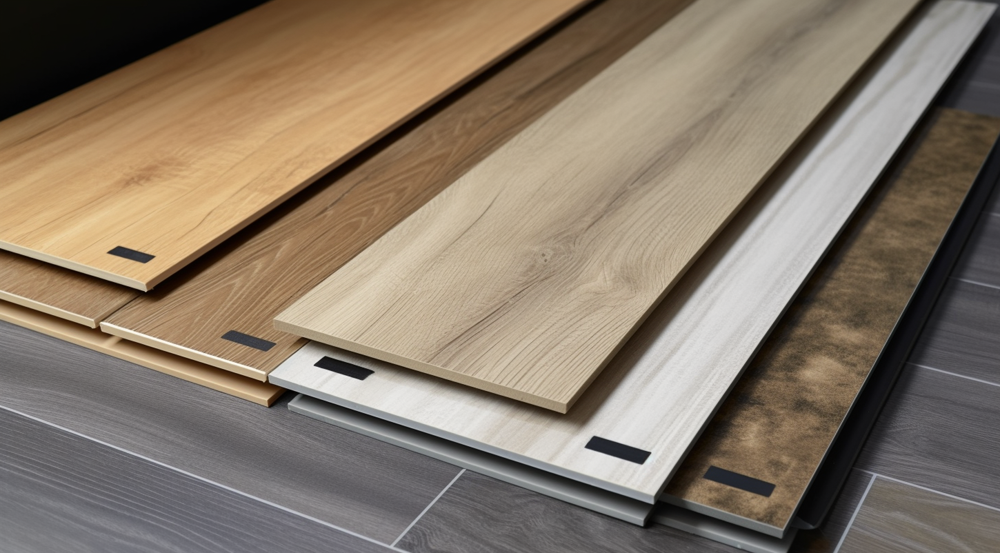
SPC tile flooring, also known as stone plastic composite tile flooring, has become a popular choice for homeowners and business owners alike due to its many advantages. One of the key benefits of SPC tile flooring is its durability, which makes it an ideal choice for high-traffic areas such as kitchens, bathrooms, and commercial spaces. Additionally, SPC tile flooring is resistant to water damage, stains, and scratches, making it easy to maintain and keep looking like new.
Importance of proper installation tools
However, while SPC tile flooring is a great investment, it’s important to ensure that it’s installed properly to maximize its benefits. This is where having the right tools comes in. Proper installation tools not only help to ensure that the flooring is installed correctly, but also make the process quicker and more efficient. From precision cutters to leveling systems, using the right tools can help you achieve professional-grade results and make your space look its best. In this guide, we will cover the top tools for SPC tile flooring installation, so you can take your flooring game to the next level.
Essential Tools
1.Utility knife or vinyl tile cutter
A utility knife or vinyl tile cutter is essential for cutting SPC tiles to the right size and shape. These tools are designed to make precise cuts and ensure that the edges of the tiles are clean and straight.
2.Measuring tape and chalk line
Before installing SPC tile flooring, it’s important to accurately measure and mark the area where the tiles will be placed. A measuring tape and chalk line can help you do this quickly and easily, ensuring that your tiles are placed in the right location.
3.Trowel with notched edge:
Installing parquet vinyl flooring in your basement requires proper preparation of the space to ensure a smooth and successful installation. This includes clearing the basement space of any furniture, appliances or debris that may obstruct the installation process.
4.Rubber mallet and tapping block
A rubber mallet and tapping block are used to gently tap the tiles into place and ensure that they are level and flush with each other. This is especially important when installing larger tiles or tiles with irregular shapes.
5.Saw (circular saw or jigsaw)
A saw is necessary for making cuts around obstacles such as door frames or pipes. A circular saw or jigsaw can be used depending on the complexity of the cuts needed.
6.Spacers and wedges:
Spacers and wedges are used to maintain consistent spacing between tiles during installation. They help to ensure that the tiles are evenly spaced and aligned, which results in a more professional-looking finished product.
7.Straight edge or level:
A straight edge or level is used to ensure that the tiles are laid down in a straight line and are level with each other. This is especially important for larger rooms, where even minor deviations from level can be noticeable.
8.Safety equipment (gloves, knee pads, eye protection)
Installing SPC tile flooring can be hard on the body, especially when working on your hands and knees. Safety equipment such as gloves, knee pads, and eye protection can help to prevent injury and make the installation process more comfortable.
Optional Tools
- Heat gun or hair dryer (for bending tiles around curved edges)
When installing SPC tile flooring in areas with curved edges or irregular shapes, a heat gun or hair dryer can be used to soften the tile and make it more pliable. This allows the tile to be bent or shaped to fit the curve of the edge, resulting in a smooth and seamless finish.
- Floor roller (for ensuring strong adhesive bond)
A floor roller is a tool that is designed to help ensure a strong bond between the tiles and the subfloor by applying pressure to the tiles after they have been laid. This helps to ensure that there are no air pockets or gaps between the tiles and the subfloor, which can cause the tiles to come loose over time.
- Style and design options
An angle grinder is a tool that can be used to trim tiles to the right size and shape. It is especially useful for making curved cuts or cutting tiles to fit around obstacles. The grinder can be fitted with different blades depending on the type of cut needed.
- Moisture meter (to test subfloor moisture levels)
One of the most important factors in ensuring a successful SPC tile flooring installation is to ensure that the subfloor is dry and free from moisture. A moisture meter can be used to test the moisture levels in the subfloor before installation. If the subfloor is too moist, it may be necessary to use a moisture barrier or wait until the subfloor has dried before proceeding with the installation.
Tool Preparation
Ensuring all tools are clean and in good working condition
Before beginning any SPC tile flooring installation project, it’s important to ensure that all tools are clean and in good working condition. This includes checking that there is no dirt or debris on the tools, as well as inspecting each tool for signs of wear and tear. Damaged tools can not only make the installation process more difficult, but they can also result in a subpar finished product. Taking the time to clean and inspect your tools before beginning the project can help to ensure that everything runs smoothly and that you achieve the best possible results.
Checking that blades are sharp and trowel notches are the correct size for adhesive
In addition to ensuring that your tools are clean and in good working condition, it’s important to check that blades are sharp and trowel notches are the correct size for the adhesive being used. Dull blades can make cutting tiles more difficult and result in uneven edges, while the wrong size trowel notches can result in uneven spread of adhesive and poor adhesion between the tiles and the subfloor. Checking these details before starting the installation process can help to ensure that the tiles are cut and installed correctly, resulting in a more professional-looking finished product. By taking the time to properly prepare your tools, you can set yourself up for success and achieve the best possible results when installing SPC tile flooring.
Installation Process
- Preparing the subfloor
The installation process for SPC tile flooring can seem daunting at first, but with the right tools and techniques, it can be a straightforward and satisfying DIY project. Before beginning any work, it’s important to take time to prepare the subfloor. Ensure that it is free from debris, level, and dry, as this will provide a stable base for the tiles to rest on. If necessary, apply a moisture barrier to prevent any moisture from seeping up through the subfloor.
- Laying out tiles
Once your subfloor is prepped, you can start laying out the tiles. It’s essential to plan this step carefully to ensure that the tiles are evenly spaced and aligned properly. Using spacers is an effective way to achieve consistent spacing between tiles while also ensuring that they remain level during installation. Consider starting in the center of the room and working outward to ensure that the tiles are evenly distributed along the edges.
- Cutting tiles to fit
Cutting tiles to fit around obstacles such as door frames or pipes may be necessary. Carefully measure and mark the location of the obstacle on the tile, then use a saw to make the necessary cuts. Be sure to wear appropriate safety equipment and exercise caution when making cuts to avoid damage to the surrounding tiles.
- Applying adhesive
Next, it’s time to apply adhesive to the subfloor using a trowel with the correct size notches for the type of adhesive being used. Spread the adhesive evenly, working in small sections at a time. Start laying tiles, working one section at a time. Use spacers and a rubber mallet and tapping block to ensure that the tiles are level and flush with each other. Continue laying tiles until the entire floor is covered.
- Placing and leveling tiles
If desired, you can grout the tiles to give them a more professional look. Follow the manufacturer’s instructions for mixing and applying grout. Once the grout has been applied, wipe away any excess with a damp sponge and allow the grout to dry completely before walking on the floor.
- Grouting tiles (optional)
Finally, allow the tiles to set for at least 24 hours before walking on them. This will give the adhesive time to dry completely and ensure that the tiles are securely in place. With a little patience and attention to detail, you can create a beautiful and durable SPC tile floor that will last for years to come.
Finishing
- Cleaning up any adhesive or grout residue
After the installation of your SPC tile flooring is complete, it’s important to take time to clean up any adhesive or grout residue that may be left on the tiles. This can be done using a damp sponge or cloth to wipe away any excess material. Be sure to do this before the adhesive or grout has fully dried, as it will be much more difficult to remove once it has hardened.
- Reinstalling baseboards and trim
Once the cleaning is complete, you can reinstall any baseboards or trim that were removed during the installation process. This will help to give the finished product a polished look and ensure that the edges of the floor are properly concealed. Use a nail gun or adhesive to secure the baseboards in place, being careful not to damage the new tiles. With the final touches complete, step back and admire your new SPC tile floor – a beautiful and durable addition to your home or business.
Maintenance
- Proper cleaning and maintenance tips
Proper cleaning and maintenance are essential to keeping your SPC tile flooring looking its best for years to come. To clean your floors, sweep or vacuum regularly to remove dirt and debris, which can scratch the surface of the tiles over time. Use a damp mop with a mild cleaner to remove any stains or spills. Avoid using harsh chemicals or abrasive cleaners, as these can damage the finish of the tiles. Additionally, it’s important to avoid exposing your floors to excessive moisture or standing water, as this can cause warping, staining, or other damage.
- Repairing any damages or issues
In the event that your SPC tile flooring becomes damaged or develops issues such as cracks or loose tiles, it’s important to address these promptly to prevent further damage. Small repairs can often be done yourself with replacement tiles, adhesive, and some basic tools. For larger or more complex repairs, it may be necessary to hire a professional to ensure that the repair is done properly and with minimal impact to the surrounding tiles. With proper care and maintenance, your SPC tile flooring will continue to provide a beautiful and durable surface for your home or business for many years to come.
In conclusion, whether you’re installing SPC tile flooring for a residential or commercial space, taking time to properly prepare, install, and care for your floors can help to ensure that they look great and last for many years to come. So why wait? Start exploring your options for SPC tile flooring today and take the first step towards achieving a beautiful and durable surface for your home or business.


