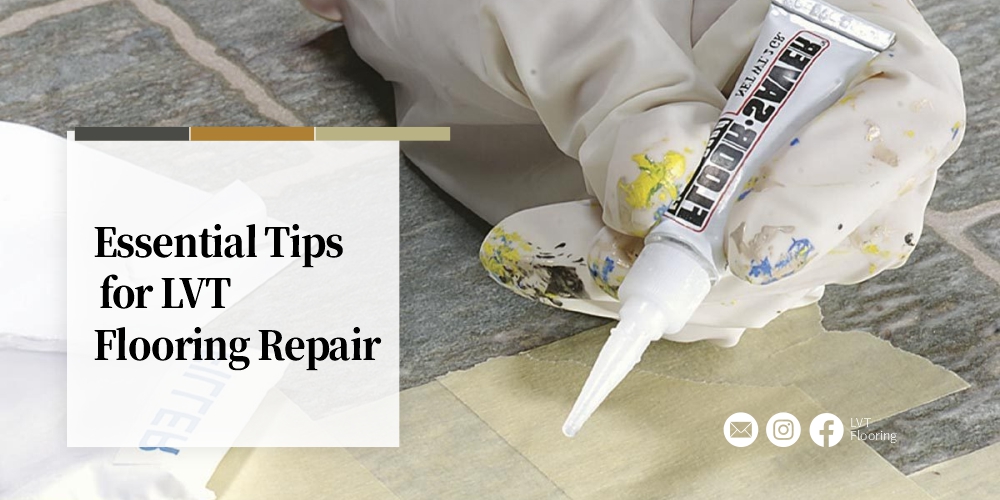
As a homeowner, you may face damage to your LVT flooring, but don’t worry! In this article, we’ll share essential tips for repairing your luxury vinyl tile flooring. LVT is a popular flooring option that is durable and long-lasting, but it’s not immune to damage.
Whether you’re dealing with scratches, dents, or other types of damage, repairing your LVT flooring can be a straightforward process. By following these essential tips, you can restore your floor to its original condition and keep it looking great for years to come.
Read on to discover how to identify the damage, prepare for repair, complete the repair process, and finish with finesse.
1. Definition of LVT flooring
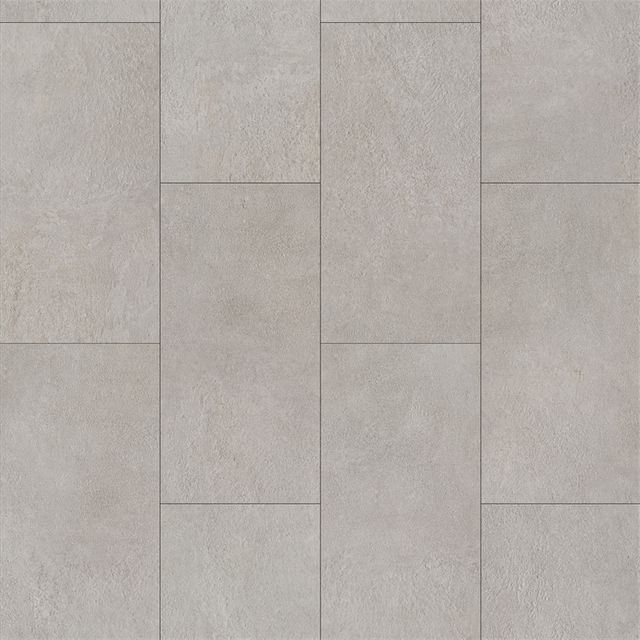
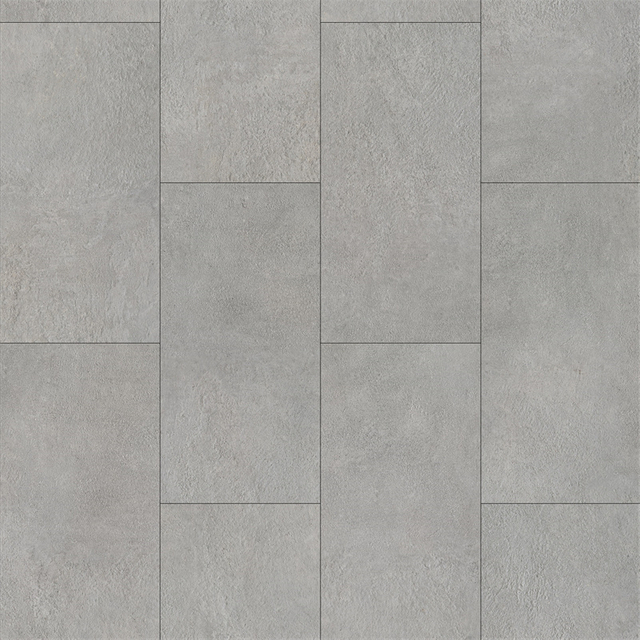
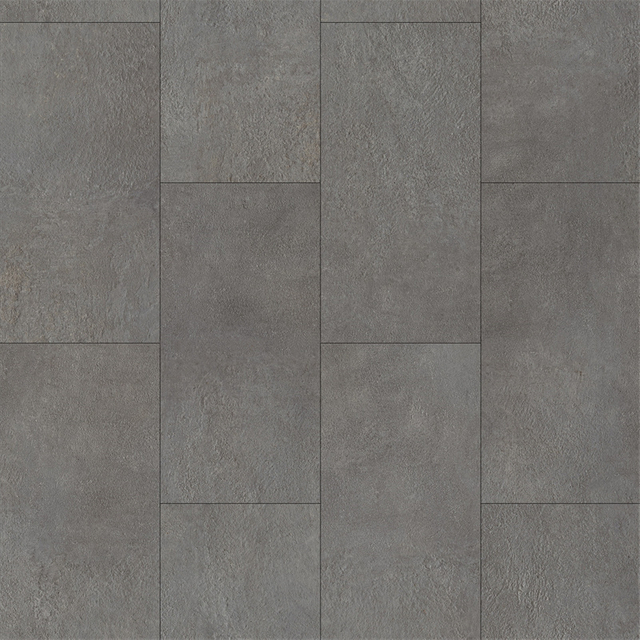
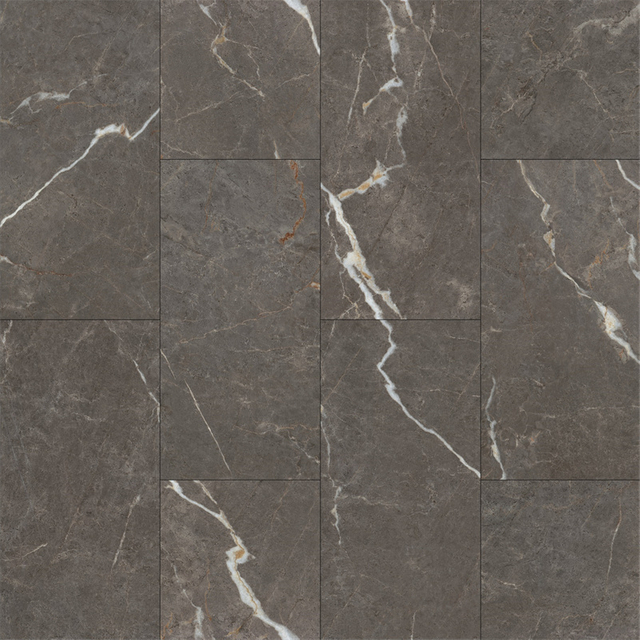
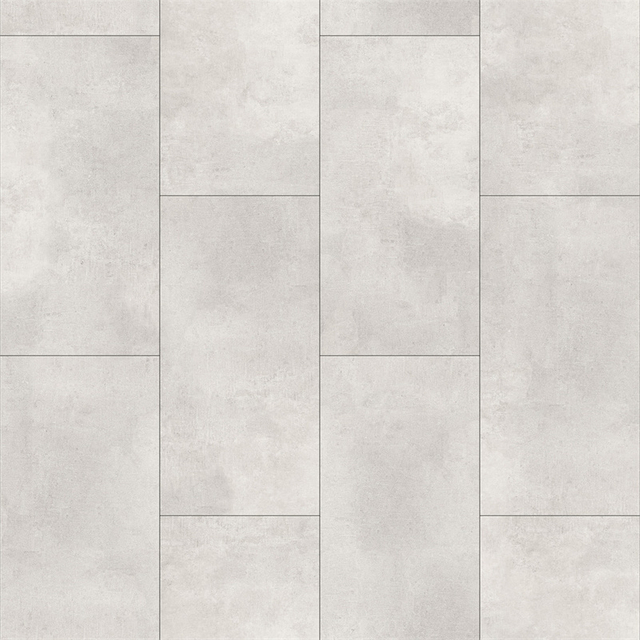
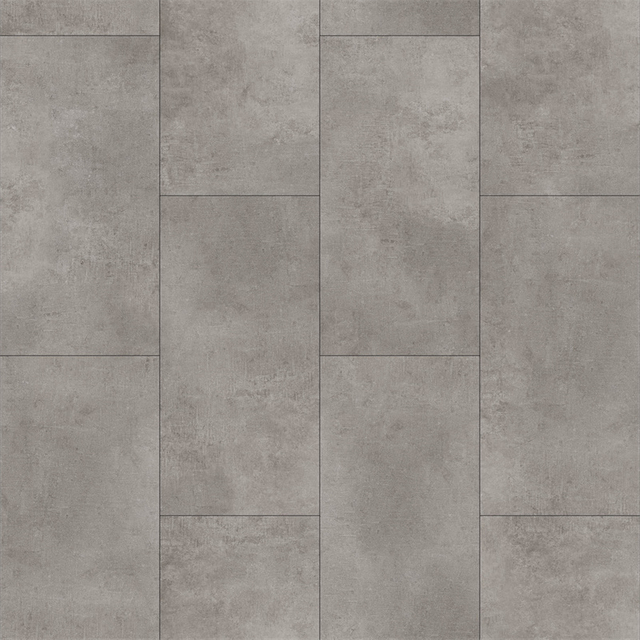
LVT flooring, also known as luxury vinyl flooring, luxury vinyl tile, or vinyl plank flooring, is a type of synthetic flooring material that mimics the look of natural hardwood, stone, or tile floors. LVT flooring is composed of multiple layers of vinyl, with the top layer featuring a high-definition printed design that replicates the appearance of real wood or stone.
LVT flooring comes in a variety of formats, such as luxury vinyl floor and luxury vinyl tiles, which resemble traditional tile flooring. Vinyl planks, on the other hand, replicate the appearance of natural hardwood flooring. LVT flooring can be installed by a flooring installer using a variety of methods, including glue-down, click-lock, or loose-lay installation.
One of the benefits of LVT flooring is that it is highly durable and resistant to scratches, dents, and moisture. Additionally, LVT flooring is easy to maintain, requiring only periodic deep cleaning and the occasional application of floor wax or carnauba wax to maintain its shine.
LVT flooring is an ideal choice for high foot traffic areas, such as commercial settings, because of its durability and easy maintenance. However, it is important to use a neutral cleaner when maintaining LVT flooring, as harsh chemicals can damage the finish.
When installing LVT flooring, it is important to order extra planks to account for waste and cuts. A rubber mallet can also help ensure a tight fit between planks during installation. With proper installation and maintenance, LVT flooring can provide a beautiful and long-lasting new floor for any space.
2. Reasons for LVT flooring repair
Wear and Tear:
One of the most common reasons for LVT flooring repair is wear and tear. Over time, even the most durable LVT flooring can show signs of wear and tear, including scratches, dents, and scuffs. While LVT flooring is highly resistant to these types of damage, high-traffic areas can still cause damage to the surface. When this happens, it may be necessary to repair or replace the damaged planks or tiles.
Water Damage:
While LVT flooring is highly resistant to moisture, it is not completely waterproof. If water is left on the surface for an extended period, it can seep through the seams or edges of the planks or tiles and cause damage to the underlying subfloor. If this happens, it may be necessary to remove and replace the damaged planks or tiles and repair the underlying subfloor.
Subfloor Issues:
Sometimes LVT flooring can become damaged due to issues with the subfloor. If the subfloor is uneven or damaged, it can cause the LVT flooring to become uneven, resulting in gaps or lifting of the planks or tiles. In this case, it may be necessary to repair or replace the subfloor before repairing or replacing the LVT flooring.
Installation Issues:
Improper installation can also lead to the need for LVT flooring repair. If the planks or tiles were not installed properly, they may become loose or buckle over time. This can be caused by issues such as incorrect adhesive or underlayment, uneven subfloor, or poor fitting between planks or tiles.
Staining and Discoloration:
While LVT flooring is highly resistant to staining and discoloration, it can still occur over time due to exposure to sunlight or chemicals. In some cases, it may be possible to remove the stains or discoloration through deep cleaning or polishing. However, in more severe cases, it may be necessary to replace the damaged planks or tiles.
3. Identifying the Damage
Inspecting the Floor:
The first step in identifying the damage to LVT flooring is to inspect the floor. When inspecting the floor, look for signs of wear and tear, such as scratches, dents, or scuffs. Walk around the room and pay close attention to areas with high foot traffic, such as doorways or hallways.
Next, inspect the edges and seams of the planks or tiles for signs of damage. Look for gaps between the planks or tiles or lifting of the edges. These are signs that the planks or tiles may be coming loose.
Finally, inspect the surface of the flooring for any signs of staining or discoloration. These can be caused by exposure to sunlight or chemicals and can be an indication that the top layer of the flooring is wearing down.
Determining the Cause of the Damage:
Wear and Tear:
The most common cause of damage to LVT flooring is wear and tear. Over time, high-traffic areas can cause scratches, dents, and scuffs to the surface of the flooring. This type of damage is typically cosmetic and can be repaired with a simple touch-up kit or by replacing the damaged planks or tiles.
Water Damage:
Another common cause of damage to LVT flooring is water damage. While LVT flooring is highly resistant to moisture, it is not completely waterproof. If water is left on the surface for an extended period, it can seep through the seams or edges of the planks or tiles and cause damage to the underlying subfloor. This type of damage may require the replacement of the damaged planks or tiles and the repair of the underlying subfloor.
Subfloor Issues:
Sometimes damage to LVT flooring can be caused by issues with the subfloor. If the subfloor is uneven or damaged, it can cause the LVT flooring to become uneven, resulting in gaps or lifting of the planks or tiles. In this case, it may be necessary to repair or replace the subfloor before repairing or replacing the LVT flooring.
Installation Issues:
Improper installation can also lead to damage to LVT flooring. If the planks or tiles were not installed properly, they may become loose or buckle over time. This can be caused by issues such as incorrect adhesive or underlayment, uneven subfloor, or poor fitting between planks or tiles.
Staining and Discoloration:
Finally, damage to LVT flooring can be caused by staining or discoloration. This can be caused by exposure to sunlight or chemicals and can be an indication that the top layer of the flooring is wearing down. In some cases, it may be possible to remove the stains or discoloration through deep cleaning or polishing. However, in more severe cases, it may be necessary to replace the damaged planks or tiles.
4. Preparation for Repair
Removing furniture and other items from the area:
The first step in preparing for the repair of LVT flooring is to remove all furniture and other items from the area. This will allow you to have a clear and unobstructed work area, making it easier to perform the repair.
When removing furniture, be sure to lift and not drag it across the floor. This will prevent further damage to the LVT flooring. Once all furniture and other items have been removed, sweep or vacuum the area to remove any dirt or debris.
Sanding, cleaning, and prepping the area for repair:
The next step in preparing for the repair of LVT flooring is to sand, clean, and prep the area. This is important because it ensures that the repair material will adhere properly to the surface of the flooring.
- Sanding: If the damaged area is rough or uneven, it may be necessary to sand it down to create a smooth surface. This can be done using a sanding block or a power sander. Be sure to use fine-grit sandpaper to avoid damaging the LVT flooring.
- Cleaning: Once the area has been sanded, it is important to thoroughly clean it to remove any dust or debris. Use a damp cloth or mop to clean the area, and then allow it to dry completely.
- Prepping: After the area has been cleaned, it is time to prepare it for repair. This involves applying a primer or adhesive to the damaged area to ensure that the repair material will adhere properly.
If the damaged area is small, a touch-up kit may be sufficient to repair it. However, if the damage is more extensive, it may be necessary to replace the damaged planks or tiles. In this case, the new planks or tiles should be cut to fit the area and then glued or snapped into place.
It is important to follow the manufacturer’s instructions when making any repairs to LVT flooring. Failure to do so can result in a poor-quality repair that will not last.
5. Repair Process
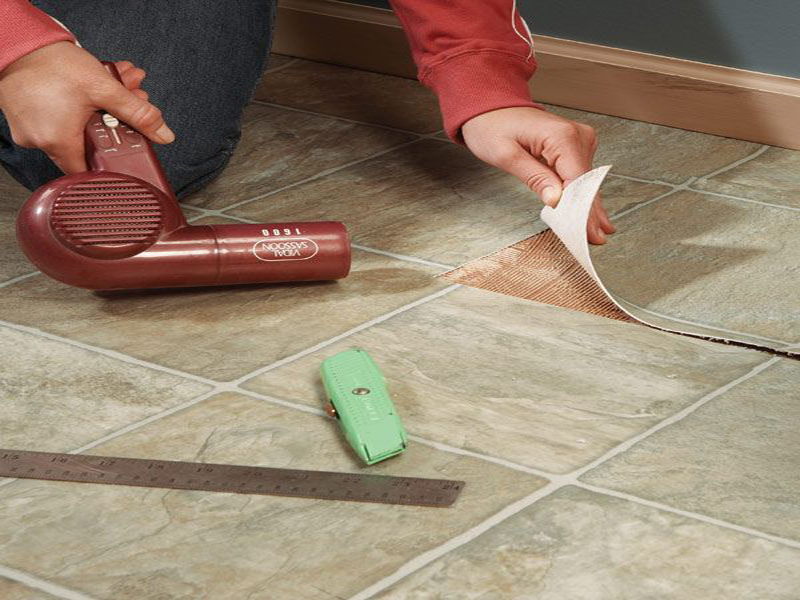
A. Patching or replacing damaged sections of the floor:
The first step in the repair process is to patch or replace the damaged sections of the LVT flooring. If the damage is minor, such as a small scratch or dent, it may be possible to simply patch the area using a touch-up kit. This involves filling the damaged area with putty or filler and then sanding it down to create a smooth surface.
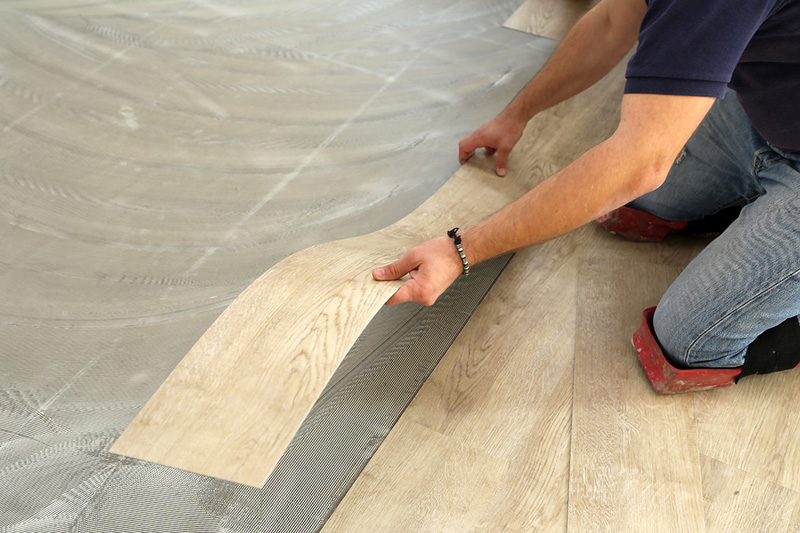
If the damage is more extensive, such as a large crack or hole, it may be necessary to replace the damaged sections of the LVT flooring. This involves removing the damaged planks or tiles and replacing them with new ones. The new planks or tiles should be cut to fit the area and then glued or snapped into place.
B. Applying adhesive to secure the replacement sections:
Once the damaged sections have been patched or replaced, it is important to apply adhesive to secure the replacement sections in place. The adhesive should be applied according to the manufacturer’s instructions to ensure that it sets properly.
It is important to allow the adhesive to dry completely before walking on or using the repaired area. This may take several hours or even overnight, depending on the type of adhesive used.
C. Sealing and treating the repaired sections:
The final step in the repair process is to seal and treat the repaired sections of the LVT flooring. This helps to protect the repaired area from future damage and also improves its appearance.
Sealing the repaired area involves applying a sealant or floor wax to the surface of the flooring. This helps to prevent dirt and moisture from penetrating the surface and causing damage. Be sure to use a neutral cleaner when cleaning the repaired area to avoid damaging the sealant.
Treating the repaired area involves applying a protective coating, such as carnauba wax, to the surface of the flooring. This helps to protect the repaired area from scratches and other types of damage. Be sure to follow the manufacturer’s instructions when applying the protective coating to ensure that it is applied correctly.

6. Finishing Touches
A. Cleaning the floor:
The first step in the finishing touches process is to clean the repaired area thoroughly. This involves removing any dust or debris that may have accumulated during the repair process. Use a soft-bristled broom or vacuum cleaner to sweep the area, taking care not to scratch the surface of the flooring.
Next, clean the area with a damp mop or cloth. Use a neutral cleaner that is recommended for LVT flooring to avoid damaging the surface. Rinse the area thoroughly with clean water and allow it to dry completely before moving on to the next step.
B. Applying a protective sealant:
The final step in the finishing touches process is to apply a protective sealant to the repaired area. This helps to protect the area from future damage and also improves its appearance.
Choose a sealant that is recommended for LVT flooring and follow the manufacturer’s instructions carefully. Apply the sealant to the repaired area using a clean, dry cloth or mop, taking care to spread it evenly over the surface. Allow the sealant to dry completely before using the repaired area.
It is important to note that LVT flooring should be deep cleaned periodically to maintain its appearance and extend its lifespan. Deep cleaning involves using a specialized cleaner and a floor machine to remove dirt and stains that may have accumulated over time. Consult the manufacturer’s instructions or hire a professional flooring installer to perform a deep cleaning on your LVT flooring.
Repairing your LVT flooring is a cost-effective way to extend its lifespan and keep it looking beautiful. By following these essential tips, you can save money and ensure that your flooring stays in great condition for many years.


